Halloween has a way of sneaking up on families, arriving before there’s time to shop for expensive costumes or wait for an online order. If your son needs an outfit soon, look around the house first because old clothes, cardboard boxes, sheets, foil, craft supplies, and kitchen materials can become a memorable costume.
These budget-friendly boy Halloween costumes include classic, funny, spooky, and creative ideas for boys with different ages and interests. You’ll find simple DIY Halloween costumes that are easy to assemble, along with homemade Halloween costumes that leave room for plenty of personality. Each idea includes the materials, quick steps, and simple ways to personalize the look, so you can make it work with what you already have. For more inspiration, browse these top Halloween costume ideas before choosing a favorite.
Start with the first costume idea and gather a few supplies before the Halloween rush begins.
25 Budget-Friendly Boy Halloween Costumes You Can Make
You don’t need a store-bought costume for a memorable Halloween night. Cardboard, old clothes, fabric scraps, foil, and face paint can become clever outfits in an afternoon. These ideas suit toddlers, school-age boys, and tweens, so your child can choose a costume that matches his personality.
Classic DIY Halloween Costumes
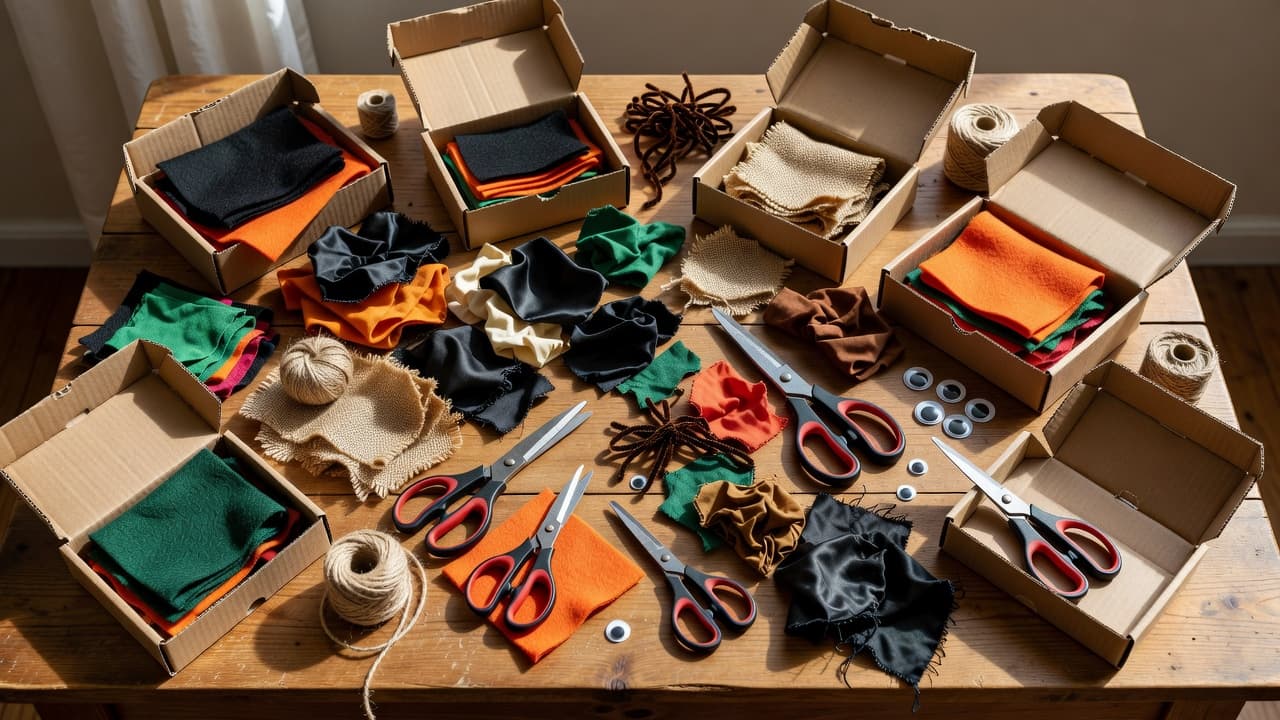
- Ghost: Cut eye holes into an old white sheet and trim the bottom so your child can walk safely.
- Mummy: Wrap old white fabric strips over dark clothes. Keep the face, hands, and shoes uncovered.
- Skeleton: Draw bones on a black shirt and sweatpants with white fabric paint or chalk.
- Zombie: Tear an old outfit, then add washable red paint and gray face makeup.
- Vampire: Pair black clothing with a homemade cape from an old pillowcase or dark sheet.
Adventure Costumes for Boys
- Pirate: Fray an old T-shirt, add a bandanna, and make an eye patch from black felt.
- Explorer: Use khaki clothes, a toy magnifying glass, and a paper map tucked into a pocket.
- Cowboy: Combine jeans, a flannel shirt, a bandanna, and a cardboard sheriff badge.
- Knight: Cut a shield and sword from cardboard, then cover both with foil or gray paint.
- Ninja: Layer black clothes and tie a strip of black fabric around the head, leaving the face clear.
A cardboard sword should have rounded edges, and children shouldn’t run while carrying costume props. For more family-friendly inspiration, browse these easy DIY costumes for kids.
Funny Homemade Halloween Costumes
- Robot: Cover two boxes with foil, cut safe openings for the head and arms, and add bottle-cap buttons.
- Popcorn: Dress him in white, attach cotton balls to a red paper vest, and add a striped paper hat.
- Toy Soldier: Wear a green outfit, paint simple buttons on cardboard, and add a paper hat.
- Traffic Light: Stack red, yellow, and green paper circles on a black cardboard vest.
- Cereal Box: Cover a large box with colored paper, then add a spoon-shaped cardboard prop.
Keep cardboard costumes light, loose, and open enough for easy movement, bathroom breaks, and comfortable sitting.
Animal Costumes on a Small Budget
- Lion: Wear brown clothes and make a mane from strips of yellow or orange paper.
- Dinosaur: Attach cardboard spikes to a green hoodie and add a matching tail.
- Black Cat: Use black clothes, paper ears, face paint, and a yarn tail secured at the waist.
- Scarecrow: Pair jeans with a flannel shirt, then add straw-colored paper strips at the cuffs.
- Frog: Wear green clothes and attach large paper eyes to a green headband.
Creative Costumes With Household Supplies
- Astronaut: Cover a white sweatshirt with paper control panels and make a backpack from two small boxes.
- Mad Scientist: Wear an oversized white shirt, add washable face paint, and carry a jar of colored water.
- Cloud: Attach cotton balls to a blue shirt or sweatshirt, leaving the sleeves and neckline clear.
- Superhero: Cut a cape from an old T-shirt and create a cardboard emblem with his favorite initial.
- Spooky Shadow: Dress in black and add a simple black cape, dark face paint, and glow-stick accessories.
Before Halloween night, let your child try the full outfit while walking, sitting, and climbing stairs. Remove loose strings, cover sharp cardboard corners, and choose face paint labeled for skin use. Small safety changes help a creative costume stay comfortable all evening.
Easy DIY Halloween Costumes From Clothes and Cardboard
Old clothes and cardboard can become impressive Halloween costumes with a few careful cuts, some tape, and your child’s imagination. A sweatshirt provides the base, while a box can become armor, a robot body, a vehicle, or a giant game piece. These projects are affordable because you can adjust each design to match the supplies already at home.
Before cutting anything, have your child try on the clothing and decide where the cardboard pieces should sit. Comfort matters more than perfect measurements, especially when he will walk, sit, and collect candy for several hours.
Turn Everyday Clothes Into a Costume Base
Start with comfortable clothes in colors that match the idea. Black sweatpants work for a ninja, skeleton, or shadow character. Gray or silver clothing suits a robot, while jeans and a flannel shirt create an instant cowboy or explorer outfit.
An old sweatshirt is especially useful because it adds warmth and hides small attachments. You can also customize it with felt, washable paint, fabric markers, or strips of leftover T-shirt material. For example, add paper scales to a green hoodie for a dinosaur or draw large eyes and teeth on a plain shirt for a friendly monster.
Use safety pins on the inside of the clothing whenever possible. They hold fabric details in place without leaving visible fasteners. Avoid tying long strings around the neck, wrists, or ankles because they can catch on furniture or playground equipment.
A simple outfit becomes much more memorable when your child helps choose the colors and details. Let him decide whether the robot looks shiny and futuristic or worn and space-explored.
Build Cardboard Pieces That Stay Light
Choose clean, sturdy cardboard from shipping boxes, cereal cartons, or appliance packaging. A large box can become a robot body, while smaller pieces work well for shields, badges, wings, masks, and costume signs. Browse these creative cardboard costume ideas for more ways to shape ordinary boxes into wearable designs.
For a basic robot costume, cut openings for the head, arms, and legs. Cover the box with aluminum foil, gray paper, or washable paint, then add bottle caps as pretend buttons. Keep the front and back panels loose enough for your child to bend, and use wide strips of cardboard or fabric as shoulder straps.
A cardboard shield needs only a rounded shape, a handle, and a few painted details. Add a matching sword with a blunt tip, or make a pirate’s cutlass from a narrow strip of cardboard. Round every corner with scissors, then cover rough edges with masking tape.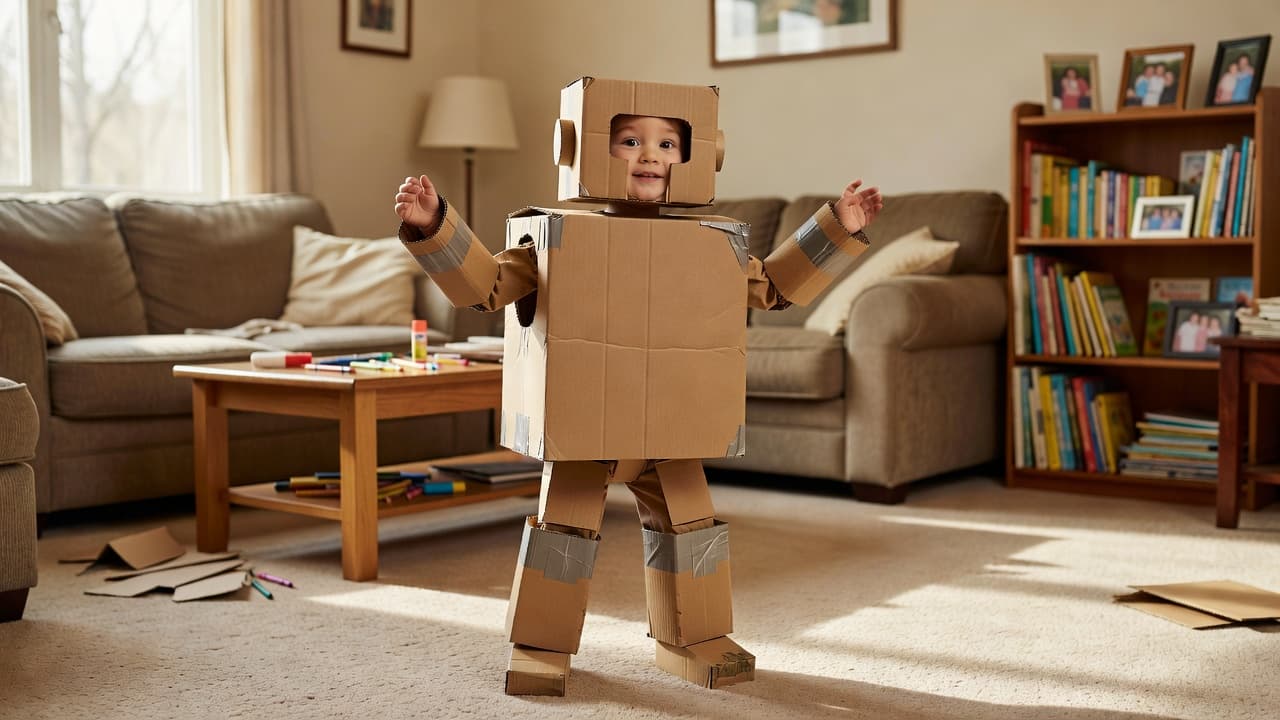
Cardboard should decorate the costume, not restrict movement. Leave clear sightlines, open armholes, and enough space for your child to bend his knees.
Combine Clothes and Cardboard for Big-Impact Ideas
This combination creates costumes that look detailed without requiring advanced sewing skills. Dress your child in blue clothes, then attach cardboard wings and a tail for a homemade dragon. A black outfit paired with cardboard armor creates a knight, while a white sweatshirt and cardboard control panel make a simple astronaut.
You can also build a cardboard vehicle around regular clothes. A red box becomes a race car when you cut wheel openings, add paper wheels, and attach shoulder straps. Keep the bottom open so your child can walk naturally instead of carrying the entire box.
For a spooky costume, use black clothing with a cardboard skeleton frame or oversized monster claws. Add face paint only after checking that it is labeled for skin use, and test a small area first. More visual inspiration is available in these cardboard box Halloween costumes, including designs that work well for last-minute projects.
Finish the costume with one personal detail, such as a homemade badge, favorite color, or funny cardboard button. That small touch often makes a simple DIY outfit feel like his own creation.
Funny Homemade Costumes That Get Everyone Smiling
Funny costumes work because people understand the joke at a glance. A cardboard box, an old sweatshirt, or a few paper shapes can become a silly character when the design has one clear idea. For more visual inspiration, browse these easy DIY Halloween costumes for kids before choosing a project.
The best homemade Halloween costumes also let your son act out the idea. A robot can move stiffly, a giant snack can pretend to be hungry, and a traffic light can “change” colors with paper circles. Those small details turn a simple outfit into a costume people remember.
Turn Ordinary Objects Into Silly Costumes
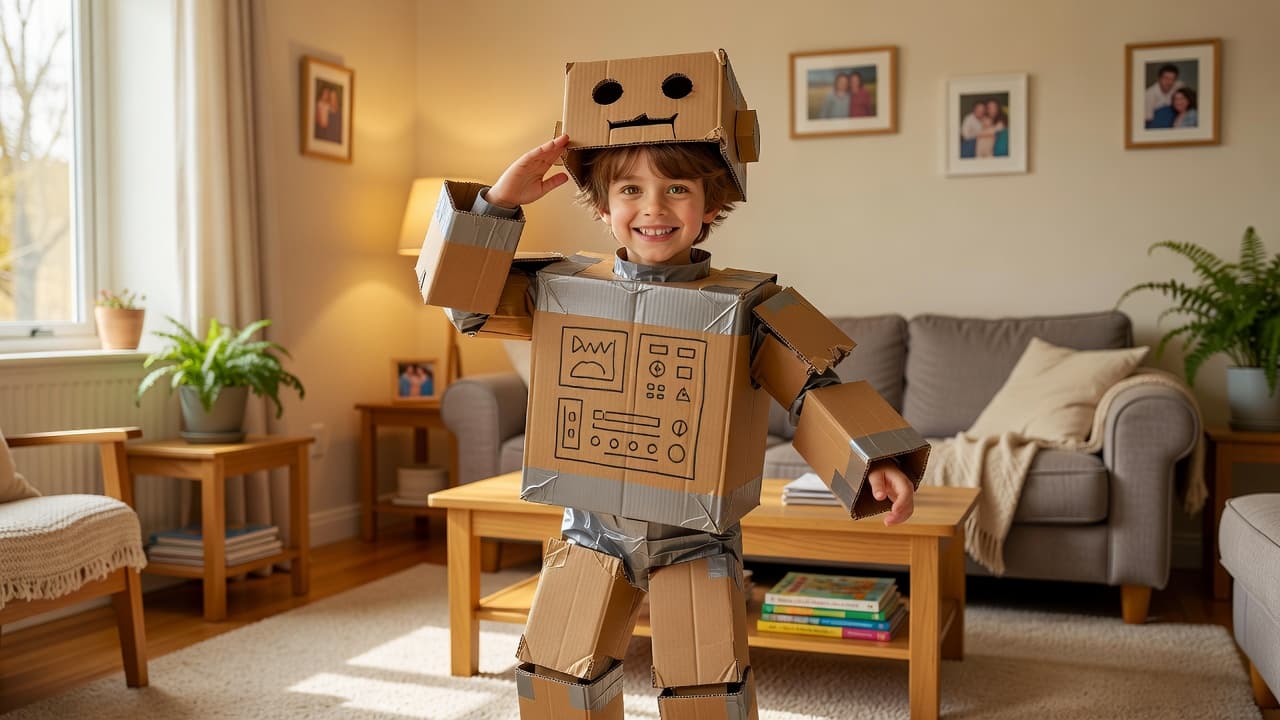
Look around the house for objects with recognizable shapes. A laundry basket can become a giant basket of clothes, while a large cardboard box can turn into a vending machine, a toy block, or a delivery package. Use lightweight materials and leave the bottom open so your child can walk comfortably.
For a funny “cereal kid” costume, cover a box with colored paper and add oversized paper shapes that look like cereal pieces. Attach a cardboard spoon to a shoulder strap instead of asking your child to carry it all night. Keep any pretend food shapes large enough to avoid small detachable pieces.
A simple cardboard vest can also become a traffic light. Add red, yellow, and green circles, then let your son decide when the “light” says stop, slow down, or go. The costume becomes even funnier when he gives family members playful traffic directions.
Make a Pun Costume With Simple Supplies
Puns create laughs without requiring a complicated costume. Dress your son in black clothes, attach paper bats, and call him a “bat boy.” For a “couch potato,” pair sweatpants with a small cardboard couch and attach clean, lightweight potato shapes made from paper or crumpled fabric.
Another easy idea is a “smarty pants” costume. Attach paper candy wrappers or empty clean snack packages to a pair of old pants, then add glasses and a button-up shirt. Avoid sharp staples and tape every rough edge before your child puts the costume on.
You can also make a “silly monster” with a hoodie, felt eyes, and mismatched socks. Place the eyes in different spots and add soft fabric teeth around the hood. The uneven details make the costume look homemade in the best possible way.
A funny costume needs one strong visual joke. Too many unrelated decorations can make the idea difficult to understand.
Add Personality Without Making the Costume Cost More
Let your child choose a funny voice, pose, or catchphrase for the costume. A homemade robot might walk with stiff knees, while a popcorn costume could pretend to “pop” whenever someone says its name. These playful choices cost nothing but make the outfit feel personal.
Comfort still matters, especially during trick-or-treating. Use face paint sparingly, keep masks away from the eyes, and avoid props that block vision or require constant carrying. Before Halloween night, have your son walk, sit, climb stairs, and practice opening the door in the complete outfit.
Finally, take a few photos before leaving home. Homemade costumes often look best when the child adds his own expression and movement. A slightly crooked paper hat or uneven cardboard button can become the detail that makes everyone smile.
Spooky DIY Costumes for Boys Who Love a Scare
Some boys want a Halloween costume that makes neighbors pause before handing over the candy. Fortunately, a creepy homemade look can begin with an old sheet, black clothes, or a little washable face paint. These spooky DIY costumes are simple to assemble, easy to personalize, and inexpensive enough for a last-minute Halloween project.
Make a Ghost With an Old Sheet
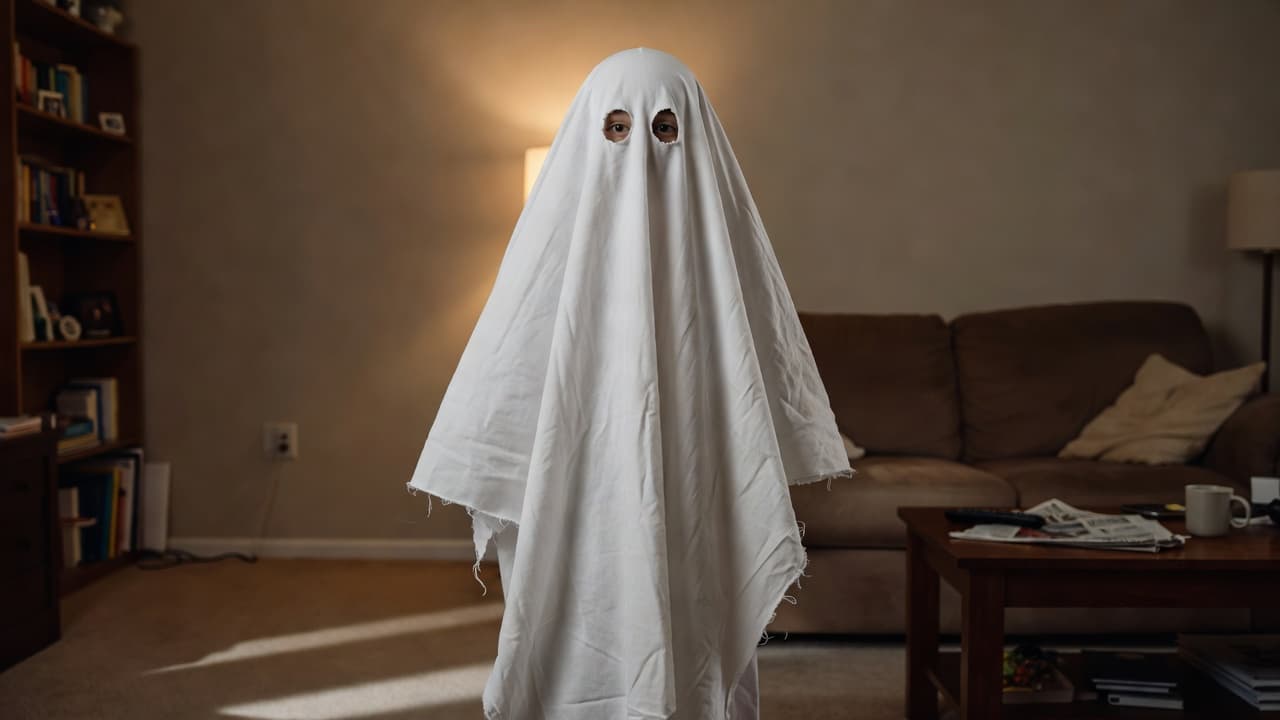
A classic ghost costume needs very little preparation. Choose a clean white sheet and place it over your child while he stands still. Mark the eye area, then remove the sheet before cutting wide openings for his eyes, nose, and mouth.
Trim the bottom so it falls above his shoes. You can also cut small openings for his hands, which makes carrying a treat bag much easier. For a more polished look, secure black felt circles inside the eye holes or add a jagged edge around the bottom.
Keep the sheet loose enough for comfortable movement, but never let it drag near his feet. Have him walk through the house before Halloween night to check that he can see clearly and climb stairs safely.
Create a Mummy or Zombie Costume
A mummy costume looks creepy because the layers appear old and uneven. Dress your son in a white or gray shirt with matching pants, then cut strips from an old pillowcase, T-shirt, or inexpensive muslin fabric. Wrap the strips loosely around his arms, legs, and torso, leaving his face, hands, and shoes uncovered.
Avoid wrapping fabric around his neck, and leave plenty of room around his chest. Tuck or pin the ends on the inside of the clothing so nothing trails behind him. A little gray face paint and dark circles around the eyes can complete the effect.
For a zombie costume, start with oversized clothes that you no longer need. Cut small tears into the fabric, roughen the edges with scissors, and add gray or green face paint. A small amount of washable red paint on the shirt can suggest old stains without using messy theatrical blood.
The best homemade Halloween costume ideas include several low-cost designs that can help you adapt these looks to your child’s age and comfort level.
Build a Vampire or Skeleton Look
A vampire costume starts with black clothes and a cape. Cut the cape from an old black sheet, oversized T-shirt, or pillowcase. Attach it at the shoulders with fabric ties or sew-on snaps, never a tight cord around the neck. Add a white shirt, slicked-back hair, and a little pale face paint for a dramatic finish.
For a skeleton, use a black sweatshirt and sweatpants as the base. Draw ribs, arm bones, and leg bones with white fabric paint, chalk, or strips of white masking tape. Keep the design simple because bold shapes show better at night.
A cardboard skull mask can add drama, but it should never block your child’s vision or breathing. Face paint is usually more comfortable for trick-or-treating, especially when he needs to talk, drink, or enjoy a snack. Test any product on a small patch of skin before applying it fully.
Creative Cardboard Costumes That Stand Out on Halloween Night
Cardboard can turn an ordinary outfit into a costume that catches attention before your child says a word. Shipping boxes, cereal cartons, foil, paint, and masking tape are enough to build robots, rockets, arcade games, and giant animals without buying expensive supplies.
The secret is to keep the base comfortable and let one large cardboard feature tell the story. Start with clothes your son can walk in, then add a lightweight structure that leaves his arms, legs, and face easy to use.
Build a Robot With Boxes and Foil
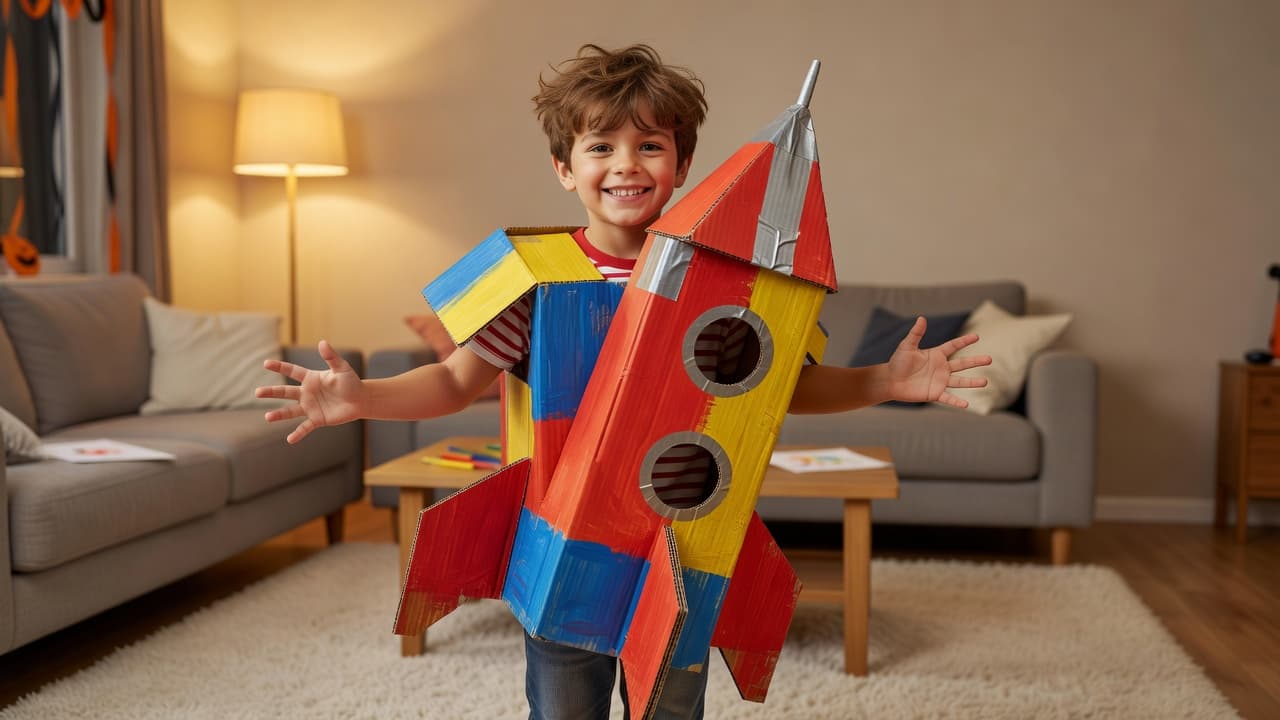
A robot is one of the easiest cardboard Halloween costumes to customize. Use a medium box for the body and a smaller box for the head. Cut wide openings for his head, arms, and legs, then cover the boxes with aluminum foil or gray paper.
Add details that give the robot a personality. Bottle caps can become buttons, paper circles can look like dials, and flexible tubing can create pretend wires. Leave the front panel mostly clear so the costume stays light and your son can bend comfortably.
Use wide fabric strips or cardboard straps to hold the body box on his shoulders. Test the fit before decorating, since extra layers of foil and tape can make the box heavier. Round every cut edge and cover rough cardboard with masking tape.
A gray sweatshirt and sweatpants complete the outfit. For a funny twist, let your child choose a robot movement, such as stiff steps or slow head turns. Browse these cardboard box costume ideas for more ways to shape boxes into wearable designs.
Make a Rocket, Race Car, or Space Vehicle
A large box can become an exciting vehicle with only a few changes. For a rocket, cut a hole in the top and bottom so your child can stand inside. Add paper fins to the sides, a rounded nose from thin cardboard, and orange or red paper flames near the bottom.
Keep the lower opening high enough for his shoes to move freely. Shoulder straps made from ribbon or fabric can stop the rocket from sliding while he walks. Avoid adding heavy objects to the sides because they can make doorways and stairs difficult to manage.
For a race car, turn the box sideways and cut openings for his head and arms. Attach large cardboard wheels to the outside, but keep them flat and lightweight. A red sweatshirt, comfortable pants, and a homemade steering wheel complete the look.
You can also create a space rover with gray paint, paper headlights, and soft tubing. Skip tiny loose decorations, especially if younger children will be nearby. Large shapes show better at night and stay attached longer.
Add Cardboard Armor and Fantasy Details
Cardboard armor works well for knights, superheroes, dragons, and space explorers. Cut separate pieces for the chest, shoulders, and forearms instead of making one rigid shell. Each section should move with your child rather than forcing him to walk like a statue.
Cover the pieces with foil, paint, or colored paper. A rounded shield adds a strong visual detail, while a cardboard crown or helmet can complete a king or knight costume. Use elastic or fabric straps on the inside, and keep the helmet open around the ears and back of the head.
The best cardboard costume detail is large, light, and easy to recognize from several feet away.
Before Halloween night, check the complete outfit indoors. Your son should see clearly, lift his arms, sit down, climb stairs, and carry his treat bag without trouble. If a costume fails any of those tests, trim it before adding more decorations.
How to Choose, Finish, and Safely Wear a Cheap DIY Costume
A cheap DIY costume looks best when it matches your child’s personality, fits comfortably, and has one clear idea. Before gathering supplies, choose a design your son can explain in a sentence. A robot, ghost, pirate, or superhero is easier to recognize than a costume covered with unrelated decorations.
Start with what you already own. An old sweatshirt can become a skeleton, dinosaur, ninja, or monster base. Cardboard boxes work for armor and vehicles, while fabric scraps add ears, tails, capes, and badges. Browse these easy DIY Halloween costume ideas if you need more inspiration before choosing a project.
Choose a Costume That Fits the Night
Consider the weather, walking distance, and activities before you cut the first piece of cardboard. A bulky robot may look impressive indoors but become awkward on crowded sidewalks. A warm hoodie-based costume works better for a chilly evening, while lightweight fabric suits a warmer climate.
Your child’s age also affects the best design. Younger boys need clear vision, simple closures, and plenty of room to move. Older children may enjoy detailed armor, props, or face paint, but the costume should still allow them to climb stairs and carry a treat bag.
Keep the main feature large enough to see from a few feet away. A bright cardboard shield creates more impact than dozens of tiny paper decorations. Choose one or two colors that fit the character, then add small details with markers, foil, felt, or washable paint.
Finish Details Without Making It Heavy
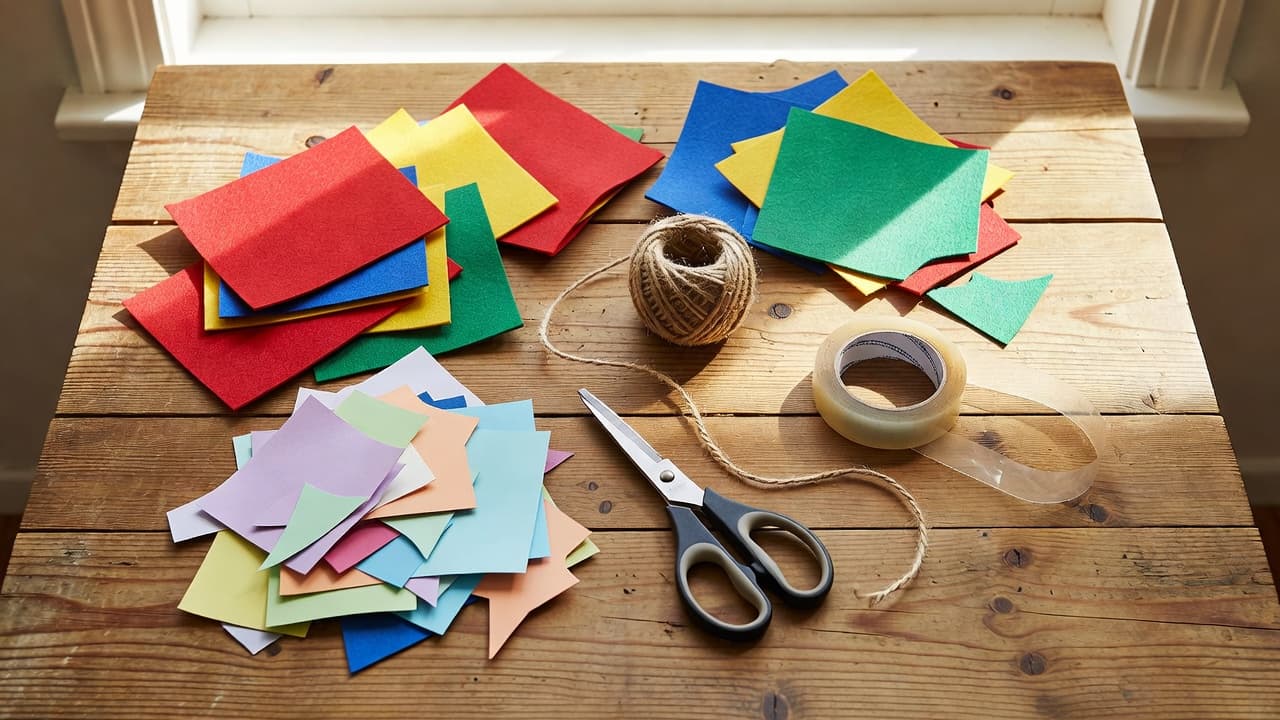
Once the costume fits, improve its appearance with clean edges and secure attachments. Cover cut cardboard edges with masking tape, round sharp corners, and trim fabric that drags near the floor. These small finishing steps make a homemade costume look neat while reducing snags and scratches.
Use fabric glue, painter’s tape, or wide strips of elastic for lightweight decorations. Safety pins can hold fabric in place, but attach them on the inside and check that the points stay closed. Avoid metal staples, exposed wire, glass, and anything that could break into sharp pieces.
Aged fabric can add character without extra spending. Dab diluted brown paint onto a mummy wrap or use a washable marker on old clothing for a dusty zombie effect. Test the color on a hidden area first, since some paints and markers stain permanently.
Test the Costume Before Halloween
Have your son wear the entire outfit at home, including shoes, masks, hats, and props. Ask him to walk, sit, use the bathroom, climb stairs, and reach for a treat bag. Watch for anything that slips, pinches, blocks his view, or catches around his feet.
If your child cannot move naturally in the costume for five minutes, the design needs another adjustment.
Keep masks loose and well-ventilated, or replace them with face paint labeled for use on skin. Test makeup on a small area first, and remove it if irritation appears. Never tie capes, eye patches, or accessories with a tight cord around the neck.
Before leaving home, check that shoes fit securely and that no loose strings hang from the sleeves or legs. Add reflective tape or a small light to darker costumes, especially if your son will walk near driveways or roads. A comfortable, visible costume lets him enjoy Halloween without constant repairs or safety worries.
Conclusion
The best budget-friendly boy Halloween costumes start with what you already have. An old sheet makes a ghost, black clothes become a skeleton, and fabric strips create a spooky mummy. A homemade cape turns everyday clothes into a superhero outfit, while cardboard and paper can shape a cheerful cookie costume without a costly shopping trip.
These DIY costume ideas prove that creativity matters more than a perfect store-bought outfit. Before Halloween night, test the fit, trim anything that drags, and reuse materials wherever possible. For more step-by-step inspiration, explore this DIY Halloween costume guide before choosing your final design.
Most importantly, let your child choose the colors, name, or story behind the costume. When he helps create the character, even the simplest homemade outfit becomes a costume he can’t wait to wear.
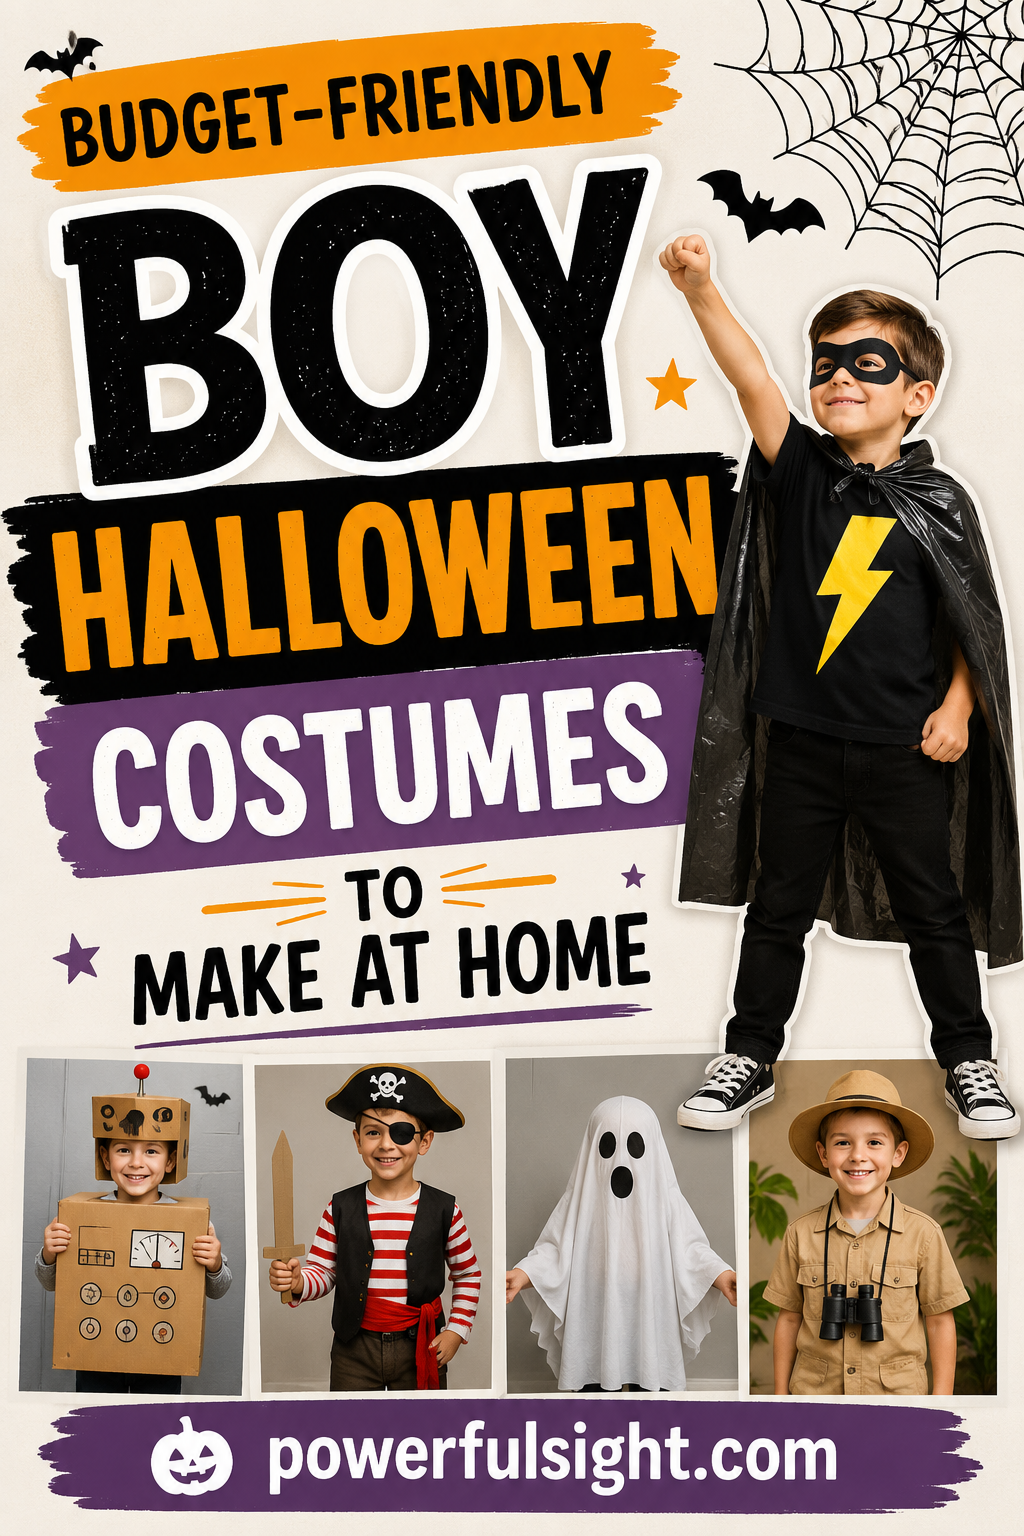
Save the pin for later

- 60 Color Tattoos That Healed Beautifully - 25/09/2026
- 40 Most Painful Tattoo Spots - 24/09/2026
- 20 Tattoo Aftercare Mistakes That Ruin Fresh Ink - 23/09/2026

