There is something about the combination of savory pork and crisp, sweet apples that feels like a warm hug on a cold evening. This classic pairing is a favorite because the bright, tart flavor of the fruit cuts right through the richness of the meat, making each bite feel balanced instead of heavy.
If you struggle with dry or tough meat, you are not alone. Cooking skillet pork chops with apples is the perfect way to master a tender result while bringing comforting flavors to your table. You can watch this helpful cooking demonstration to see how the pros achieve that perfect sear without sacrificing moisture.
Whether you are looking for simple healthy herbs for pork recipes or a quick fix for a busy weeknight, this dish delivers every time. Let’s look at how you can get that juicy, golden finish in your own kitchen.
Choosing the Right Pork Chops
The secret to a restaurant-quality meal often starts at the meat counter. When you prepare skillet pork chops with apples, your choice of cut dictates how the final dish tastes and feels. High-quality ingredients provide a solid foundation for any recipe, and pork is no exception. Selecting the right piece ensures you finish with a tender, flavorful meal rather than a dry or bland one.
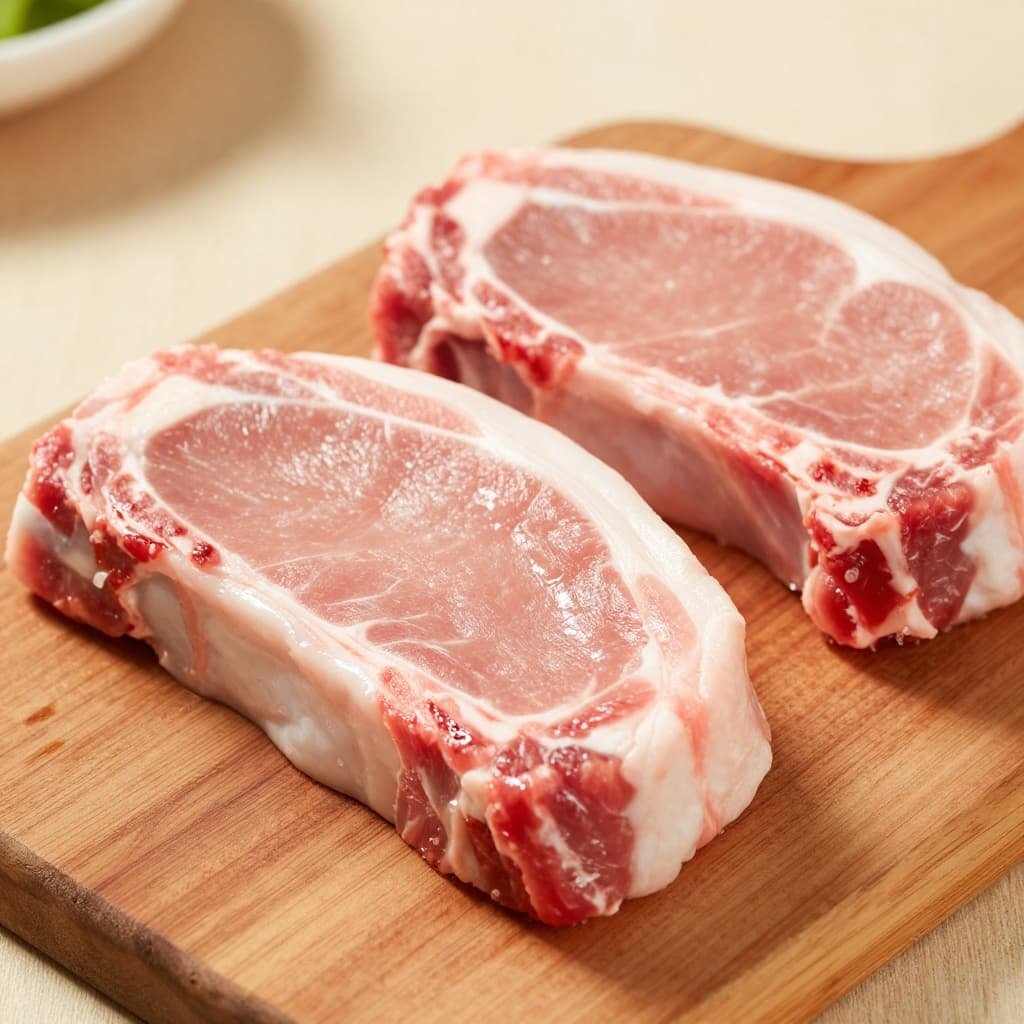
Why Bone-in Offers More Flavor
Many home cooks lean toward boneless chops because they seem easier to handle. However, sticking to bone-in varieties provides a noticeable upgrade in both texture and taste. The bone acts as an insulator, shielding the meat immediately surrounding it from the intense heat of your skillet. This protection helps the center stay tender while the exterior develops a deep, caramelized crust.
Beyond the protective effect, the bone contributes fat and connective tissue that naturally baste the meat from the inside. As these elements render during the cooking process, they infuse the pork with moisture and depth. According to professional tests on how to choose pork, the presence of the bone keeps the meat from drying out, even if you are not an expert at tracking temperatures. You might consider looking for nutritious bowl recipes under 15g carbs if you enjoy these cuts alongside fresh, low-carb sides.
Getting the Thickness Just Right
The thickness of your chop is perhaps the most important factor for success. Supermarket packages often feature thin-cut chops that look convenient for a quick weeknight dinner. Unfortunately, these thin slices present a major challenge. They often dry out completely before you can achieve a proper sear, leaving you with tough, unappealing meat.
Aim for chops that are at least one inch thick for the best results. This thickness provides enough leeway to get that beautiful, golden-brown crust without overcooking the center. It allows you to maintain control over the internal temperature, which is essential since pork tastes best when cooked to a safe but succulent 145 degrees. Thicker cuts stay juicy and satisfying, ensuring you get a premium experience every single time you cook.
Perfecting Your Sear
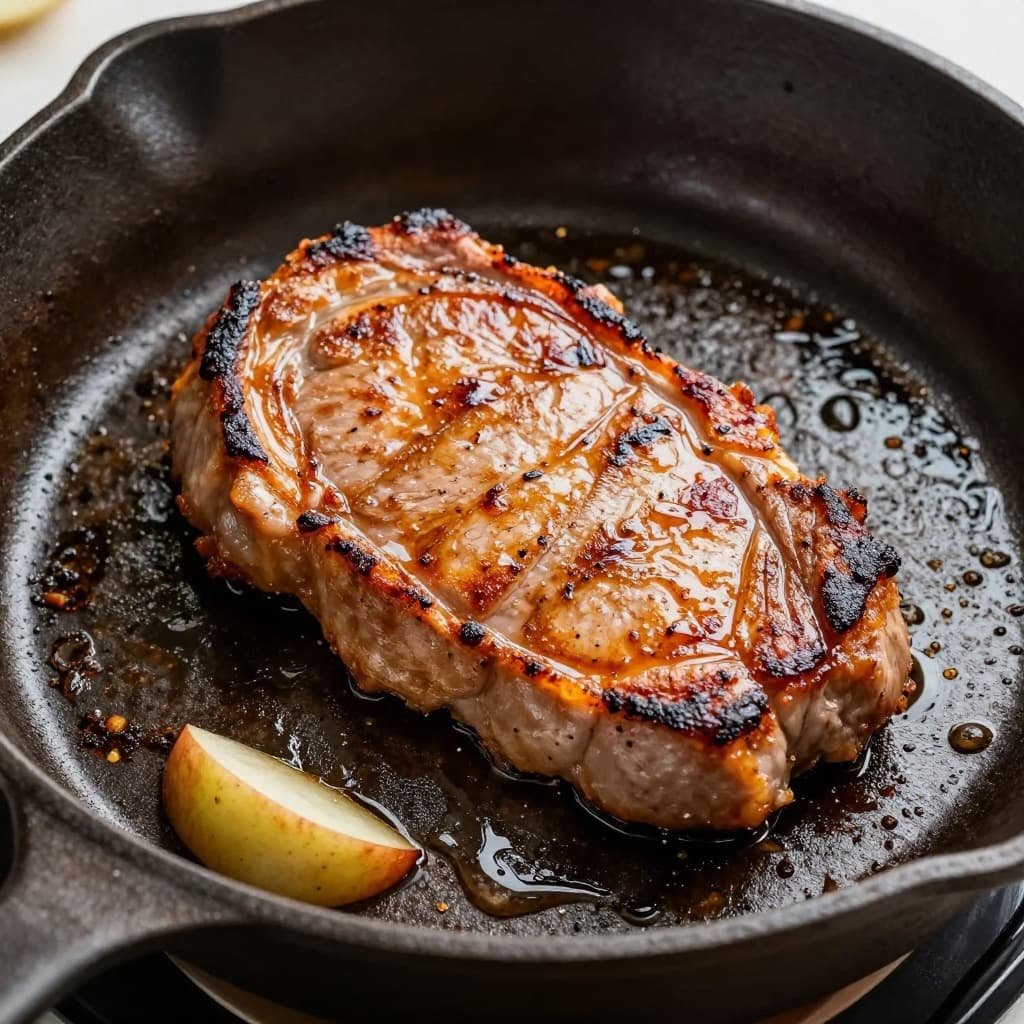
Achieving a golden-brown crust on your pork chops is about managing energy and moisture. When you place a chop into a hot skillet, you aren’t just heating the meat; you are starting a sequence of chemical changes that transform simple proteins into complex, savory flavors. If your pan is too cool or your meat is damp, you miss this transformation. Master these fundamentals, and your stovetop cooking will change for the better.
The Science of a Good Crust
The secret behind that beautiful, flavorful crust is the Maillard reaction. This is a chemical dance between amino acids and reducing sugars that occurs when food hits high heat. It creates hundreds of different flavor compounds and that familiar dark brown color we crave. You can find more on the specifics of why our food turns brown in food science literature.
However, the Maillard reaction won’t start if the surface of your pork is wet. Water boils at 212 degrees, which acts as a barrier because it keeps the surface temperature of the meat stuck at that boiling point. The reaction typically requires temperatures above 285 degrees to take hold effectively. If you throw a damp chop into the pan, your skillet wastes all its heat energy turning that water into steam instead of browning the meat. This is why patting the surface dry with paper towels is non-negotiable. For a deeper look at how this impacts your final result, check out the science of the sear.
Avoiding the Crowded Pan Mistake
Even with perfectly dry meat, you can easily ruin your sear by adding too much to the pan at once. When you pack your skillet full of pork chops, you create a crowded environment that traps steam. This moisture escapes from the meat and has nowhere to go but up, essentially poaching your chops in their own juices instead of letting them fry.
Instead of a deep, caramelized crust, you end up with grey, soggy meat that lacks flavor. To avoid this, cook in batches if your pan isn’t large enough to hold the chops with at least an inch of space between them. This gap allows steam to escape freely, keeping the environment dry and the heat focused on creating that crisp exterior. Remember, a good sear is about efficiency; give your food the room it needs to transform.
Selecting and Cooking Your Apples
Choosing the right fruit is just as important as selecting your meat. While many varieties taste great raw, they react differently once they hit the heat of a skillet. You want an apple that stands up to the temperature without losing its identity, ensuring you have distinct, flavorful slices in every serving.
Best Apple Varieties for Cooking
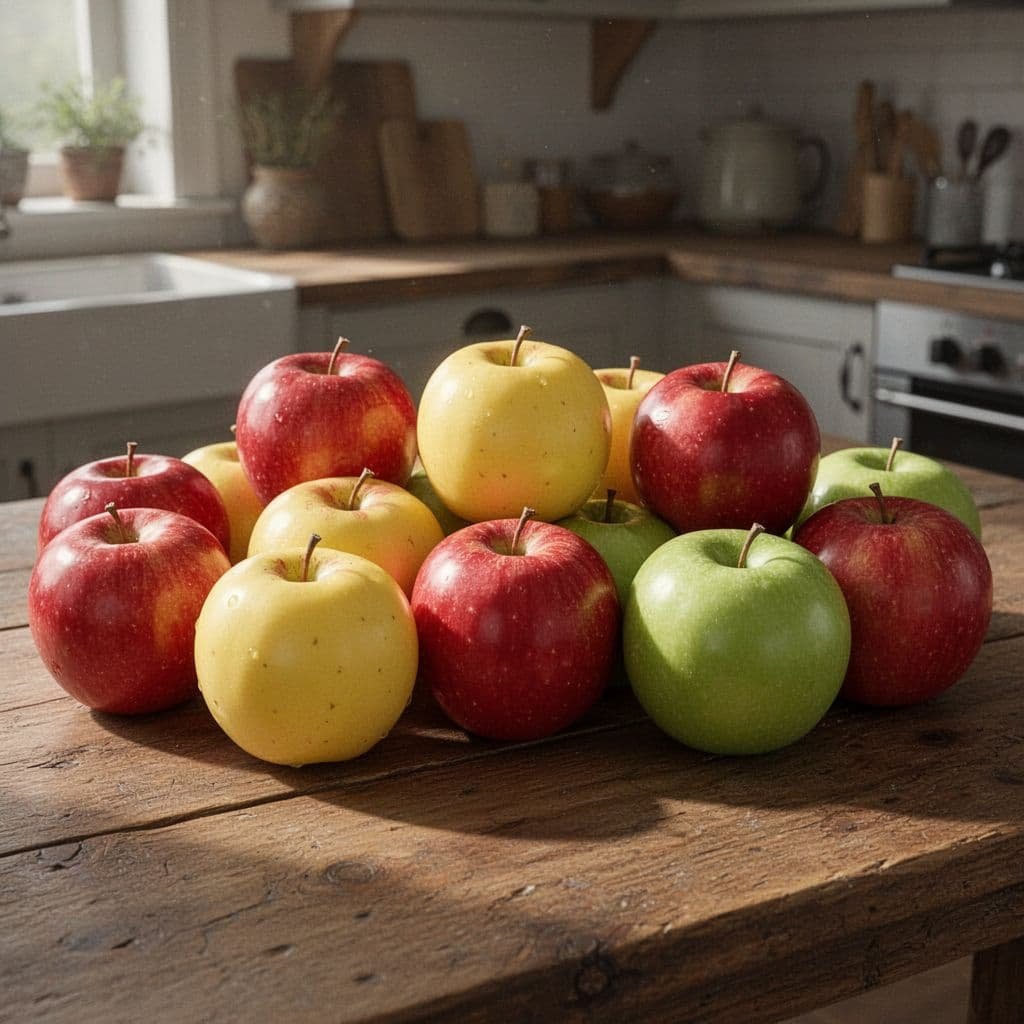
When you head to the grocery store, focus on apples with dense flesh. These varieties contain less water, which means they maintain their structural integrity while caramelizing. Relying on consistent favorites keeps the cooking process simple and predictable for your weeknight meals.
- Granny Smith: This is the gold standard for many cooks because of its firm texture and sharp, acidic profile. The tartness balances the richness of pork beautifully, and the slices rarely break down into sauce even after a few minutes in the pan.
- Honeycrisp: Known for its exceptionally crisp bite, this apple remains pleasantly firm when heated. It offers a balanced sweet-tart flavor that complements savory seasonings like rosemary or thyme.
- Gala: If you prefer a milder, sweeter result, Gala is a reliable pick. While it softens more quickly than a Granny Smith, it still holds enough shape to remain a distinct part of your dish.
To better understand how these fruits behave in different temperatures, you can review details on different apple varieties for cooking. Mixing these varieties can also add depth if you enjoy experimenting with your pantry staples.
How to Keep Apples From Turning to Mush
The biggest pitfall when cooking fruit is adding it too early. If you toss your slices in while the pork is still searing, they will likely become mushy by the time the meat finishes. Proper timing is the simple bridge between perfect texture and total collapse.
Wait until the pork chops are nearly done before adding your apples to the skillet. I prefer to push the meat to the side of the pan and drop the apple slices into the rendered fat. This allows the fruit to soften and pick up the savory drippings without cooking for so long that it turns into a puree.
For the best texture, keep your slices uniform in size so they cook at the same rate. You want them to reach a state where they are tender enough to cut with a fork but still firm enough to hold their shape. Keeping an eye on your apple and pork pairing techniques helps you learn exactly when to pull the pan off the heat. By adding the apples late in the process, you protect their natural crispness and ensure a much more vibrant final dish.
Flavor Boosters and Sauce Tips
A great sauce is the difference between a simple dinner and a memorable meal. The secret lies in the brown bits, or fond, left behind in your skillet after the pork finishes browning. These caramelized remnants hold concentrated savory flavor that forms the foundation of a restaurant-quality pan sauce.

Transforming Fond Into Pan Sauce
Deglazing is a simple but effective technique that lifts those flavorful bits off the pan surface. Once you move your pork chops to a plate to rest, add a splash of liquid to the hot skillet. Apple cider is an excellent choice for this recipe because it mirrors the sweetness of the fruit while adding a subtle acidity that balances the richness of the pork.
Broth or stock also works well if you prefer a more savory profile. As the liquid hits the hot pan, it will bubble and hiss. Use a wooden spoon to scrape the bottom of the skillet, loosening all the golden bits into the liquid. This process creates a flavorful base that carries the essence of the seared meat throughout the final dish. You can find more detail on this technique in this guide on creating pan sauces.
Choosing the Best Savory Herbs
Pork and apples thrive when paired with the right aromatics. Certain herbs enhance the natural sweetness of the fruit while grounding the dish with earthier, savory notes. Stick to these classic combinations for the best results:
- Sage: This is the top choice for this pairing; it adds a warm, piney aroma that perfectly complements both pork and apples.
- Thyme: It brings a subtle, earthy brightness that rounds out the sauce without overpowering other ingredients.
- Rosemary: This herb is quite strong, so use it sparingly to avoid a medicinal flavor, but it provides a great depth when used alongside thyme.
If you are just starting out, reach for a blend of sage and thyme. These two herbs work in harmony to elevate the dish. If you are mindful of your dietary habits for managing cholesterol levels, focus on using fresh herbs to build flavor rather than relying on heavy creams or butter, as they provide a significant punch without adding extra saturated fat. Stir these herbs into your sauce during the final minute of simmering so their oils have time to release, then pour the finished glaze over your plated chops and apples.
Ensuring the Perfect Internal Temperature
Cooking pork chops is a delicate balance. You want a flavorful, browned exterior but a tender and juicy center. Many home cooks struggle with this because they rely on visual cues or time alone to gauge doneness. Relying on these methods often results in overcooked, dry meat. Using a digital meat thermometer is the most reliable way to achieve consistent, professional results.

Why You Need a Meat Thermometer
Guessing the temperature of a thick cut of meat is rarely accurate. A digital instant-read thermometer takes the guesswork out of the process, ensuring your pork is safe to eat while protecting its moisture. You simply insert the probe into the thickest part of the chop, making sure to avoid the bone, which can give a false high reading.
The USDA recommended internal temperature for fresh pork is 145 degrees Fahrenheit. Reaching this milestone confirms that your meal is both safe and at its highest level of quality. If you cook past this point, you risk losing the very juices that make the pork appetizing. Using a tool ensures you pull the meat from the heat at exactly the right moment.
The Power of the Rest
Once your thermometer confirms the pork has hit 145 degrees, resist the urge to serve it immediately. Resting the meat for at least three minutes is a mandatory step in the process. During this time, the muscle fibers relax and reabsorb the juices that moved toward the surface during cooking.
If you cut into the pork too soon, those precious juices will spill out onto your cutting board instead of staying inside the meat. You can read more about official cooking guidance from the USDA regarding the importance of this rest period for safety and texture. Think of resting as the final stage of cooking, where the heat continues to distribute evenly throughout the chop. When you follow these simple temperature and timing rules, you ensure every bite remains succulent and satisfying.
Conclusion
Mastering this one-pan meal transforms your weeknight cooking because it keeps cleanup minimal while packing your plate with professional-level flavor. By using the same skillet for both the pork and the fruit, you allow the savory pan juices to coat the apples and elevate the entire dish.
You now have a reliable technique to build a balanced, comforting meal whenever you need it. Next time you head to the kitchen, try switching up your herbs with tarragon or rosemary to discover a different side of these classic flavors. If you decide to look for other ways to combine fruit and savory proteins, you might enjoy exploring filling salads featuring crisp apples for a lighter alternative.
How will you customize your next batch of pork and apples?
Save pin for later


- How to Manage Period Pain Effectively - 29/06/2026
- 8 Healthy Pasta Salad Recipes for Lunch and Dinner - 23/06/2026
- Slow Cooker Pulled Pork Tacos Recipe for Easy Taco Night - 22/06/2026
