Packing a lunch your child will actually eat can turn busy mornings into a daily negotiation. These kids lunch box meals ideas make school lunches easier with simple combinations that feel familiar, satisfying, and manageable.
Use a flexible formula: add one protein, one carbohydrate, a fruit or vegetable, and an optional treat. That might mean cheese and whole-grain crackers with grapes, a turkey wrap with cucumber, or hummus with pita and sliced peppers. You can also mix in no-cook lunch boxes, warm thermos meals, picky eater options, allergy-aware swaps, and make-ahead choices. For food safety, keep perishable items chilled until lunchtime, and check your school’s allergy rules before packing nuts or peanut butter.
A balanced lunch doesn’t need to look perfect or come from a complicated recipe. With a little planning and make-ahead lunch combinations, you’ll have dependable choices for every kind of school day. Start with these easy lunch box ideas.
Kids Lunch Box Meals Ideas for Easy, Balanced School Days
When mornings feel rushed, choose ingredients that are ready to eat and easy to combine. A balanced lunch can come together in minutes when you keep a few proteins, whole grains, fruits, vegetables, and dips on hand.
No-cook lunch box combinations for busy mornings
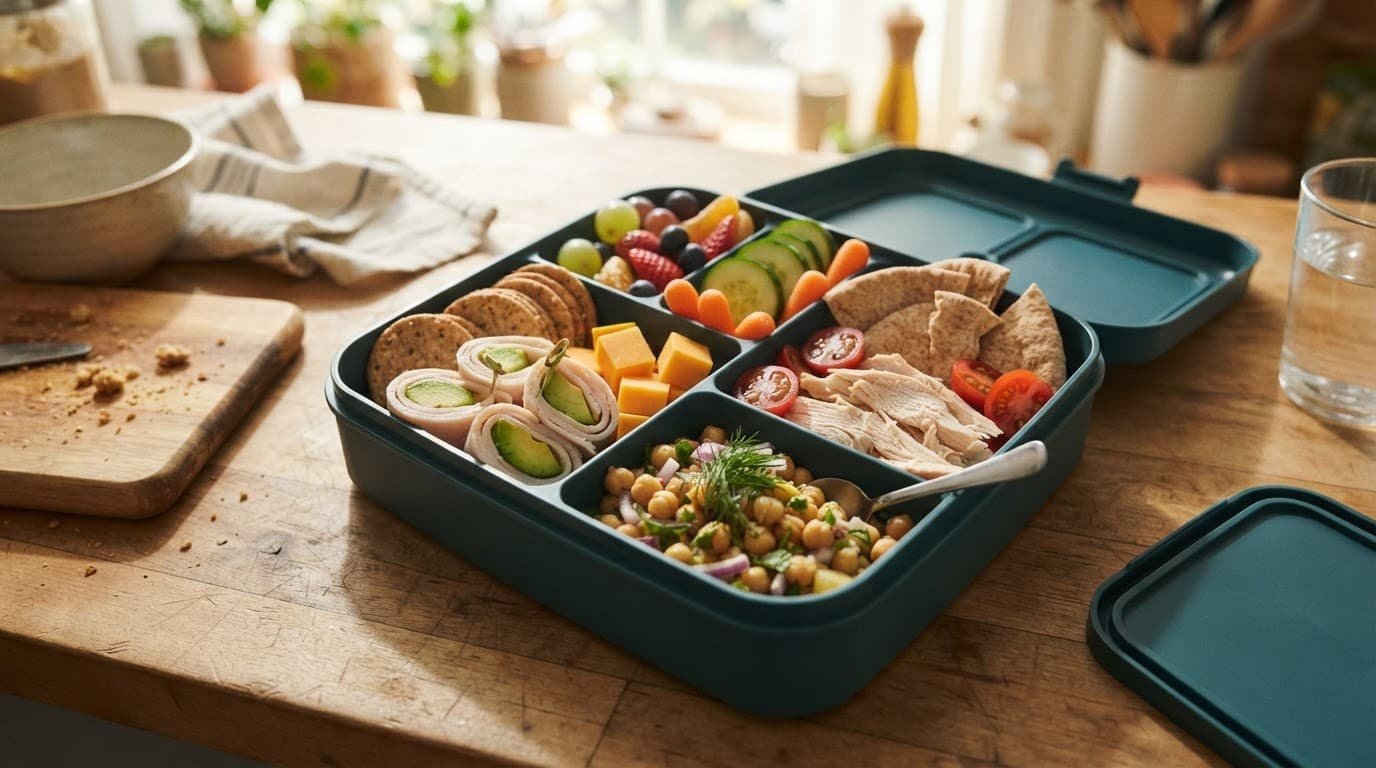
These no-cook combinations usually take five to ten minutes to pack:
- Roll turkey slices around avocado strips, then add whole-grain crackers, grapes, and cucumber rounds.
- Pair cheese cubes or slices with crackers, apple wedges, and a small portion of hummus or ranch dip.
- Pack cold leftover chicken with pita triangles, cherry tomatoes, sliced carrots, and yogurt dip.
- Mix tuna salad or chickpea salad with whole-grain crackers, celery sticks, and berries.
- Fill a snack-style box with fruit, vegetables, cheese, boiled eggs, and hummus for dipping.
For a simple build-your-own box, place small portions in separate compartments instead of assembling one complete sandwich. Children can stack turkey and cheese on crackers, scoop hummus with vegetables, or make little pita bites with chicken. That small choice can make lunch feel more inviting, especially for kids who prefer familiar foods or like to control each bite.
Try these combinations when you want more variety:
- Mini bagel halves with deli turkey, cheese, strawberries, and bell pepper strips.
- Tortilla wedges with hummus, shredded chicken, cucumber, and orange segments.
- Crackers with boiled egg slices, cheese, blueberries, and snap peas.
- Mini bagels with seed butter, banana slices, carrots, and a small yogurt cup, if the school allows seed butter.
Seed butter can provide a nut-free alternative to peanut or almond butter, but always check the school’s allergy policy first. Processed foods such as deli meat, crackers, or packaged dips can fit into a family lunch routine. Balance them with produce and a protein your child enjoys rather than treating any single food as forbidden.
A little preparation makes these lunches even faster. Wash grapes and berries after shopping, cut vegetables for two or three days, portion crackers into small containers, and keep cooked chicken chilled in a sealed container. You can also cook eggs ahead of time, then refrigerate them until you’re ready to pack.
Cut round foods lengthwise and make every piece small enough for your child’s age and chewing ability. Keep perishable foods cold in an insulated lunch bag with at least two cold sources, following USDA bag lunch safety guidance. For another make-ahead option, try these kid-friendly pasta salad ideas alongside fruit and vegetables.
Warm thermos lunches and make-ahead meals that travel well
Warm lunches can make a school day feel more comforting, especially when the weather turns cold. Use an insulated thermos for foods that stay pleasant after a few hours, and rely on dinner leftovers to reduce waste, grocery costs, and morning preparation.
Preheat the thermos with very hot water, let it sit for a few minutes, then empty it before adding the food. Reheat leftovers to 165°F, and pack hot food at 140°F or above. The USDA also recommends keeping the container closed until lunchtime. See the USDA leftovers safety guidance for more details.
Turn dinner leftovers into easy school lunches
Last night’s dinner can become tomorrow’s lunch with almost no extra cooking. Roasted chicken fits neatly into a tortilla with cheese and cucumber, while meatballs pair well with rice and a few steamed vegetables in a divided container.
Taco filling can become a crispy quesadilla with shredded cheese. Simply cut it into triangles after cooling slightly, then pack salsa separately if your child enjoys dipping. Leftover vegetables also work in fried rice, pasta salad, or a small grain bowl with chicken and dressing on the side.
Ask your child which leftovers sound good before packing them. That small choice helps familiar food feel inviting instead of forced. You can also prepare extra dinner portions for packable lunch ideas for meal prep later in the week.
Breakfast-for-lunch and snack-style boxes
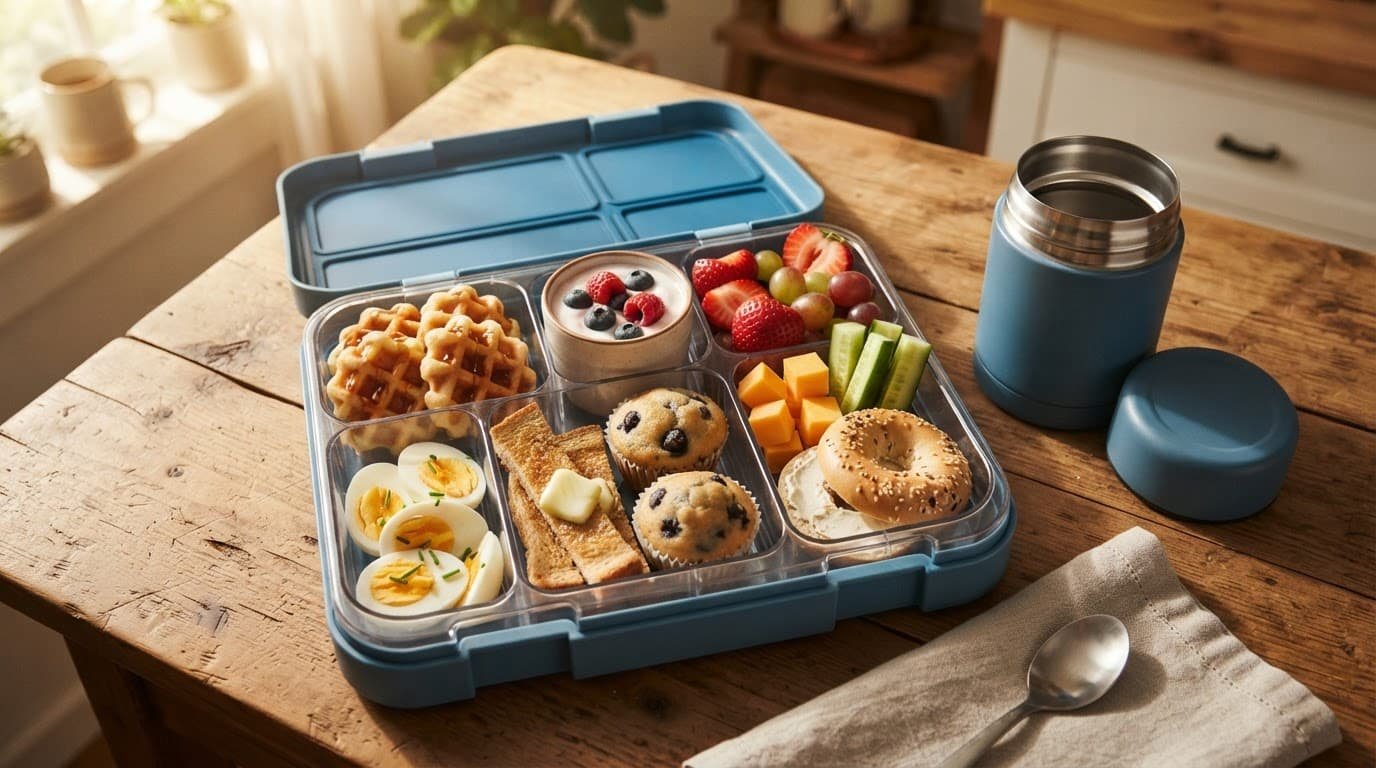
Breakfast foods often feel familiar, which makes them useful for younger children and selective eaters. Try mini waffles with yogurt and berries, hard-boiled eggs with toast strips, or mini muffins with cheese and sliced fruit. A small bagel with cream cheese or a dairy-free spread is another simple choice.
Several small portions can feel less overwhelming than one large meal. Your child can eat a waffle, a few berries, and some yogurt without facing a crowded plate. Add a small treat, such as one cookie or a few pretzels, so it fits into the box without replacing the main foods.
How to Pack Safe, Fresh Lunches That Stay Cold or Hot
A lunch can look perfect at 7 a.m. and become soggy, warm, or unsafe by noon. Pack in the right order: chill perishable foods first, use cold sources, separate wet ingredients, and choose foods your child can eat easily.
Foods to pack carefully or leave out
Meat, dairy, eggs, yogurt, hummus, cut fruit, and many dips need proper cooling. Refrigerate them before packing, then place them in an insulated lunch bag with at least two frozen cold sources. Put one beside or above the food, and add another underneath when possible. Cold foods should stay below 40°F.
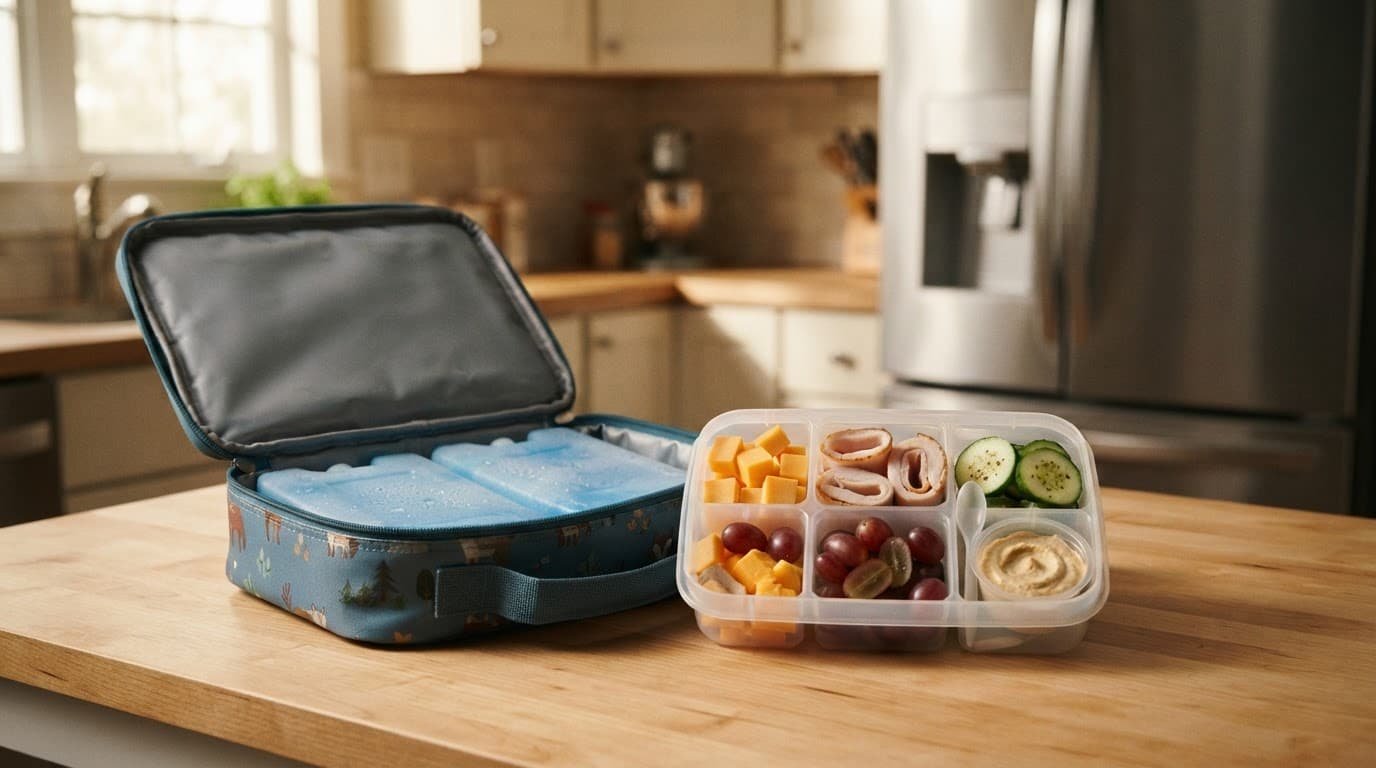
Pack leak-prone foods, such as yogurt, applesauce, hummus, ranch, and salsa, in tightly sealed containers. Keep crackers, bread, pita, and cereal away from wet fillings so they stay crisp. For example, place turkey and cheese in one compartment, then pack cucumber slices and dip separately. Delicate greens may wilt, while watery tomatoes can soak through bread. Add them only when your child will eat lunch soon, or use a separate container.
Before school, keep the finished lunch bag in a cool area or refrigerator until your child leaves. Remind your child to return reusable ice packs home each day so you can refreeze them. If leftovers or other perishable food stayed too warm for more than two hours, discard them. On days above 90°F, use the one-hour limit. When in doubt, throw it out rather than sending it back into the refrigerator.
USDA guidance treats meat, poultry, eggs, dairy, leftovers, and cut produce as foods that need temperature control. An insulated bag and two cold sources protect them better than a paper bag.
Hot foods need a different routine. Preheat an insulated thermos with boiling water for several minutes, empty it, and add piping-hot soup, chili, pasta, or rice. Keep the lid closed until lunchtime. Food should remain at 140°F or above, so test the thermos at home before relying on it for school.
Age and eating skills matter when you prepare round or firm foods. Cut grapes lengthwise, slice hot dogs and sausage into smaller pieces, and divide cherry tomatoes, berries, and other round foods into manageable pieces. The CDC choking hazard guidance offers age-based examples, but your child’s chewing ability matters too. Always follow guidance from your pediatrician and your child’s school, especially for younger children.
Allergy-Aware Lunch Ideas for School Rules and Shared Spaces
An allergy-safe lunch depends on more than choosing a recipe without the allergen. Crumbs, spreads, utensils, and shared kitchen surfaces can carry tiny traces into an otherwise suitable meal. Before packing, check the school’s current rules and follow your child’s written safety plan.
How to prevent cross-contact during lunch prep
Removing peanut butter, dairy, wheat, egg, or another allergen from a recipe doesn’t remove traces left behind by earlier foods. A knife used for peanut butter, a cutting board covered with cracker crumbs, or a toaster surface with residue can transfer allergens to the next lunch.
Start with clean hands, countertops, cutting boards, knives, and utensils. Wash with soap and water, then use clean containers and freshly washed tools. Water alone doesn’t reliably remove food allergens, and hand sanitizer doesn’t replace soap-and-water handwashing. The CDC’s school food allergy guidance also recommends cleaning and sanitizing food-contact surfaces before and after meals.
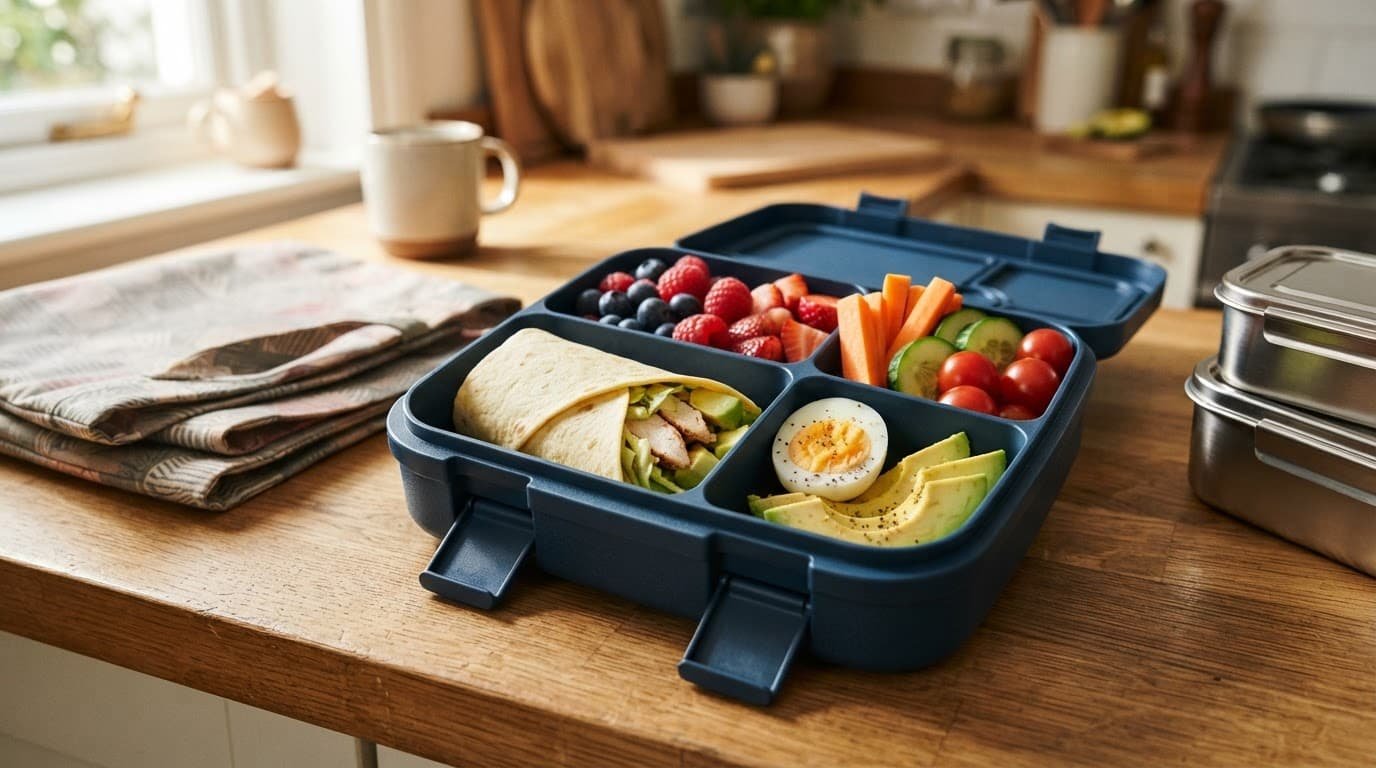
Prepare the allergy-aware lunch before making other lunches, or create a separate preparation area. Keep its ingredients, containers, and utensils apart from foods that contain the allergen. Store the finished lunch in a closed container and place it in a separate section of the refrigerator or lunch bag when possible.
Substitutions can keep familiar meals on the menu:
- Use seed butter instead of peanut or tree nut butter, but only when the school permits it.
- Choose corn tortillas instead of wheat wraps for a wheat-free option.
- Replace cheese with dairy-free cheese or sliced avocado when appropriate.
- Try beans, chicken, or eggs instead of meat if your child can eat those foods safely.
Read every ingredient label, including labels on substitute foods. A product can contain an allergen through its ingredients or shared equipment, and classroom rules may prohibit it even when the food seems safe at home.
Finally, teach your child not to trade, share, or accept bites from another lunch. Explain the rule in simple language, then practice what they can say: “No thank you, I need to eat my own food.” Ask the teacher or school nurse how lunches, snacks, parties, and cafeteria meals are handled. The CDC school allergy framework includes daily prevention, staff training, emergency planning, and a safe eating environment, so your child’s individual plan should guide every decision.
Portion Ideas for Preschoolers, Elementary Kids, and Older Children
Portion sizes should match your child’s age, appetite, and eating skills. A preschool lunch may need several small bites, while an older child may need a fuller sandwich, extra fruit, or a second protein.
A simple weekly plan that saves time and money
A short prep session once or twice a week can make school mornings feel much lighter. Wash fruit, chop cucumbers and carrots, cook plain pasta, boil eggs, shred chicken, bake mini muffins, and portion crackers into small containers. Store each building block safely in the refrigerator, then combine them in different ways.
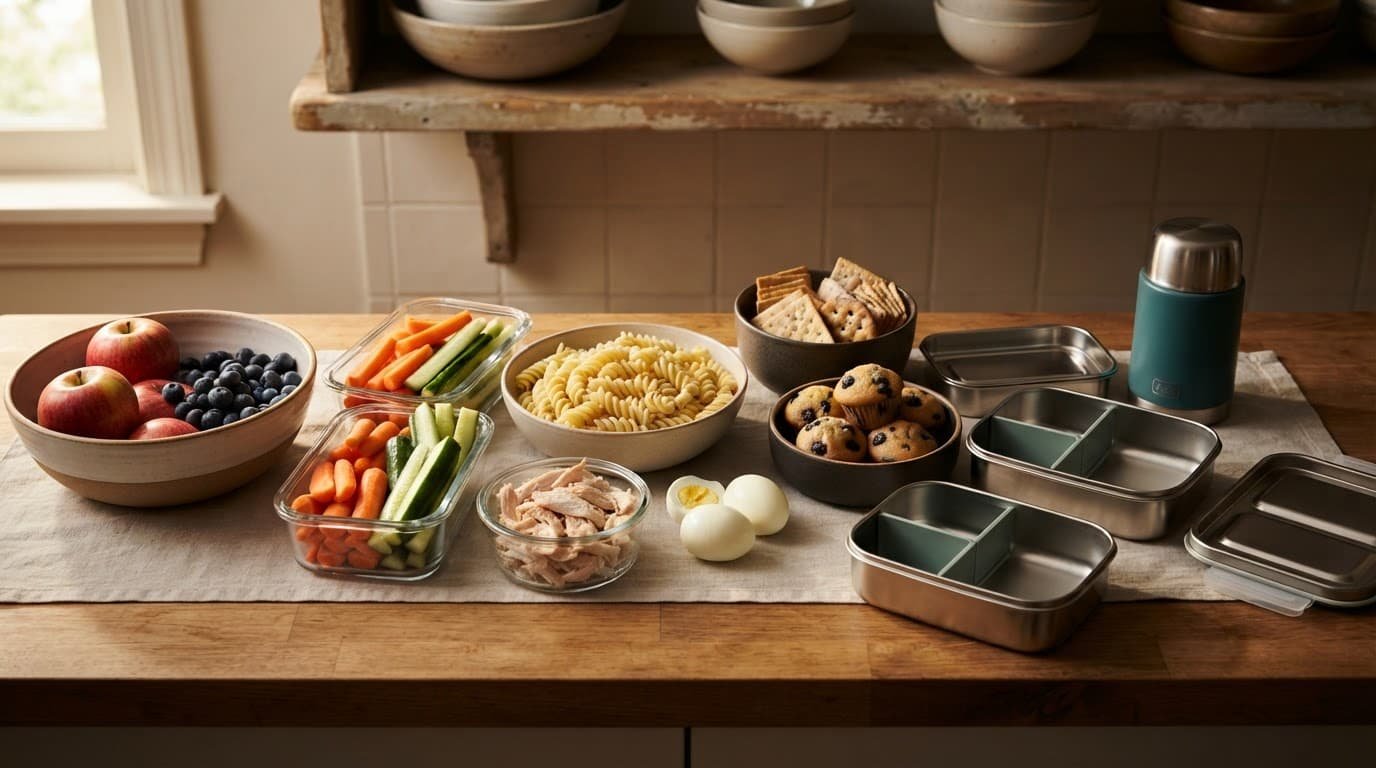
Try this simple rhythm:
- Monday: Pack a no-cook box with crackers, cheese, fruit, cucumber, and a boiled egg.
- Tuesday: Use dinner leftovers, such as shredded chicken with plain pasta, fruit, and a familiar vegetable.
- Wednesday: Fill a thermos with soup, chili, pasta, or rice, then add a small side of berries or crackers.
- Thursday: Make a quesadilla or tortilla pinwheel with chicken, cheese, or beans. Keep the filling mild and pack cucumber separately.
- Friday: Offer a snack-style box with mini sandwiches, muffins, cheese cubes, fruit, and a few pretzels.
Preschoolers often do better with small portions that leave room for seconds. Start with a few cucumber slices, a small handful of crackers, half a mini sandwich, or a few pieces of fruit. Elementary kids may manage a full mini sandwich plus two sides, while older children often need extra carbohydrates and protein to stay satisfied through afternoon activities.
Pack one dependable food your child already accepts beside one less familiar food. Plain pasta, crackers, cheese, fruit, mini sandwiches, and cucumber can anchor the meal without making the box feel repetitive. Add variety gently with hummus for dipping, fruit cut into new shapes, pinwheels instead of sandwich squares, or vegetables served in separate compartments.
Offer choices while grocery shopping, such as apples or grapes, crackers or pita, and cheese cubes or yogurt. Keep textures and flavors separate when your child prefers clear boundaries, and avoid pressure to finish everything. Repeating a favorite lunch is practical, not boring, especially when you change one small side.
Use seasonal produce and store-brand staples to lower the grocery bill. Dinner leftovers can also stretch your budget, particularly after sheet-pan meals with chicken or roasted vegetables. These quick lunches made with leftovers help you reuse food before it gets forgotten.
For broader menu-planning ideas, the USDA’s school meal planning resource can help you think in terms of balanced food groups. At home, keep the plan flexible enough for your child’s preferences and appetite.
Conclusion
The best kids lunch box meals ideas are safe, familiar, balanced, and realistic for the family preparing them. Build each lunch around a protein, carbohydrate, fruit or vegetable, and optional extra, then keep cold foods at 40°F or below with cold sources or hot foods at 140°F or above in an insulated thermos.
Let your child help choose between foods, textures, and flavors, while you follow school allergy rules and adjust portions as appetite changes. A short weekly plan can also make mornings easier, especially when you simplify family meal planning.
A simple lunch packed with care can give your child familiar food, steady nourishment, and one less challenge during a busy school day.
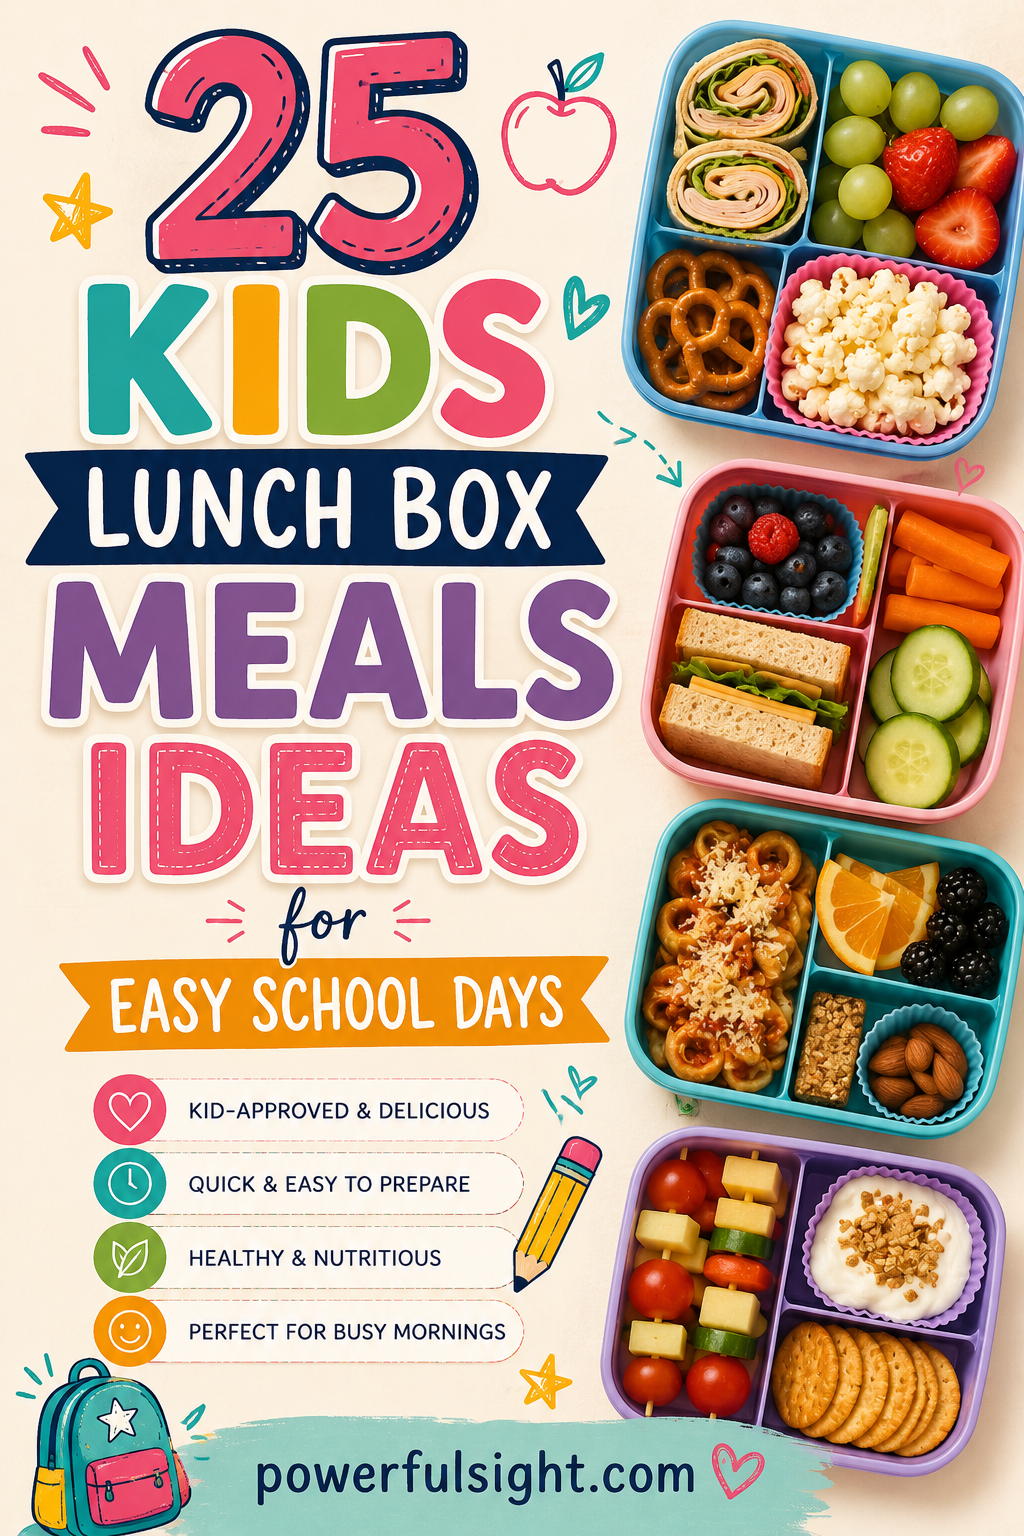
Save the pin for later

- Healthy Air Fryer Recipes for Beginners - 21/09/2026
- Healthy Snacks for Late Night Cravings - 21/09/2026
- High Protein Meal Prep Ideas for Easy Weekly Meals - 21/09/2026

