If you love classic banana pudding but want it richer, creamier, and a little more special, this Not Yo Mama’s Banana Pudding Recipe hits that sweet spot. It keeps everything people crave about the old-school dessert, but adds fuller flavor, softer layers, and a more luscious finish that tastes like you put in extra effort.
What makes this version stand out is the mix of textures and the upgraded feel. You still get vanilla wafers, bananas, and pudding, but the layers taste more homemade, more balanced, and more satisfying after a good chill. That kind of comfort-with-a-twist is exactly why banana pudding keeps showing up in new desserts and seasonal treats in 2026, because people still want familiar flavors that feel a bit more special.
You’ll get the full ingredient list, the step-by-step method, easy swaps if you want to change it up, plus simple storage tips and common mistakes to avoid. So if you want a banana pudding that looks impressive and still feels easy to pull off, you’re in the right place.
What makes this banana pudding different from the classic version?
A classic banana pudding is already hard to resist, but a Not Yo Mama’s Banana Pudding Recipe takes that familiar comfort and gives it more body, more flavor, and a better finish. The idea is simple: keep the old-fashioned layers people love, then make each part taste fuller and feel creamier after it chills.
You’ll still get bananas, cookies, and pudding. However, this version pushes the texture closer to a bakery-style dessert, which is why rich no-bake banana pudding remains a favorite in recent US recipe trends, especially versions inspired by Paula Deen’s original recipe.
The creamy filling is richer, smoother, and more flavorful
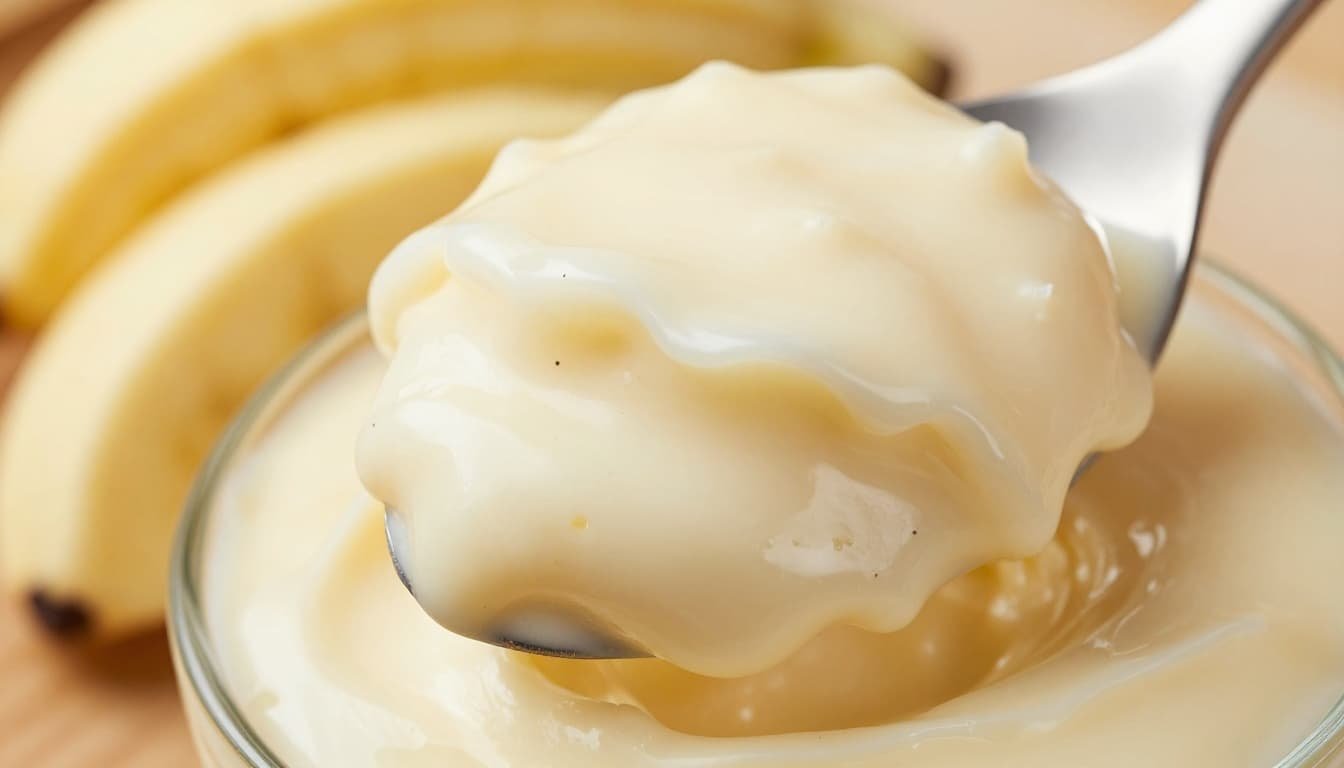
The biggest difference is the filling. Basic banana pudding often relies on a plain pudding base, so it tastes good but fairly simple. In this version, sweetened condensed milk adds deeper sweetness, cream cheese brings a soft tang, and whipped topping or whipped cream makes the mixture light without losing that thick, spoon-coating feel.
Real vanilla matters here, too. Even a little extra vanilla rounds out the flavor and gives the filling that homemade taste people notice right away. If the final recipe uses pudding mix, it keeps things quick and reliable. If it leans toward custard, the result feels even more classic and rich. Either way, the texture should feel silky, plush, and creamy, not thin or watery.
The layers matter just as much as the flavor
This dessert works because every layer brings something different. Vanilla wafers add structure at first, then soften in the fridge and turn cake-like around the edges. Fresh banana slices add sweetness and that soft, tender bite you expect from a great banana pudding.
As it chills, the thick filling settles into the cookies and fruit, so every spoonful tastes blended instead of scattered. That contrast is what makes it so good: soft cookies, rich pudding, and tender bananas all in one bite.
A few simple upgrades make it feel bakery style
A handful of small upgrades can make this pudding taste extra special without making it fussy. For example, a pinch of sea salt helps balance the sweetness, and extra vanilla gives the filling more depth. Some newer versions also swap in mascarpone or homemade custard for an even richer feel, which lines up with recent banana pudding twists shared by Taste of the South.
If you want a little more texture, add crushed cookies on top right before serving. For more flavor, lightly caramelized bananas or a small drizzle of caramel can make the dessert feel more polished. Those touches are optional, but they help this version taste like more than a basic box-pudding dessert.
Ingredients you need for the best Not Yo Mama’s Banana Pudding Recipe
The magic of a great Not Yo Mama’s Banana Pudding Recipe is in the ingredient choices. This dessert is simple, but each part has a job. If one item is off, the layers can turn too soft, too sweet, or too loose after chilling.
For the best result, keep the base classic: ripe bananas, cookies that soften nicely, and a rich filling built from cream cheese, condensed milk, pudding, and whipped topping or cream. A few smart swaps work, but the goal is still the same, a pudding that slices cleanly and tastes rich in every spoonful.
Choose ripe bananas that are sweet, but not mushy
Bananas should be ripe enough to taste sweet, but still firm when sliced. Look for yellow peels with a few brown specks. At that stage, they have strong banana flavor and hold their shape between the pudding layers.
If the bananas are too green, they taste flat and feel starchy. If they are too dark and soft, they can melt into the filling and make the dessert too loose. Overripe bananas also release more moisture, so the pudding can turn watery after a long chill.
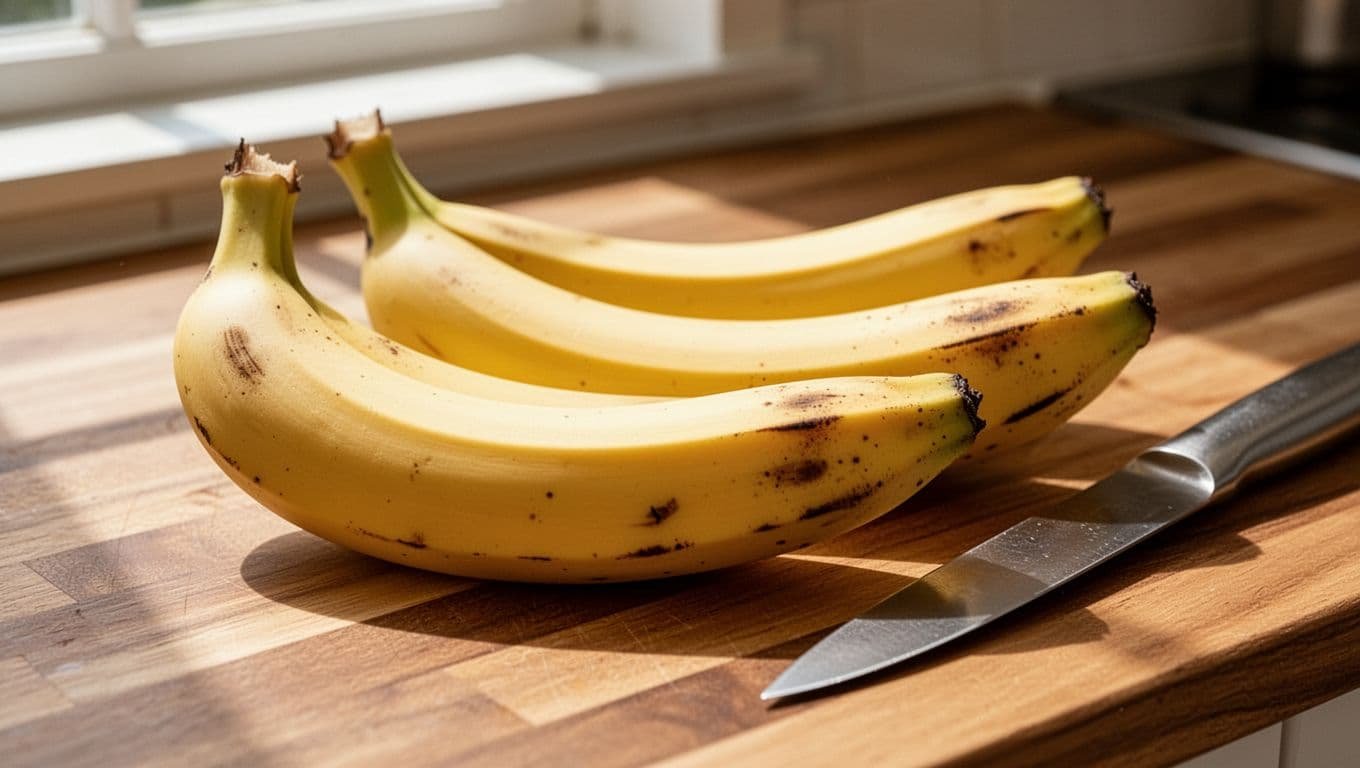
A good rule is simple: buy bananas you would happily eat plain that day or the next day. Slice them a bit thick so they stay present in each bite.
Pick cookies that soften well without disappearing
Vanilla wafers are the safest pick if you want that classic banana pudding feel. They soak up the filling as the dish chills, so they soften into a cake-like layer instead of staying hard or turning to paste.
Some versions of this dessert use Chessmen-style cookies, which are richer and more buttery. Shortbread can also work, but it makes the pudding feel heavier and a little less traditional. If you want the flavor to stay close to the familiar version, vanilla wafers are still the best everyday choice. For a reference point, Paula Deen’s original ingredient list uses a cookie-first approach that helped make this style so popular.
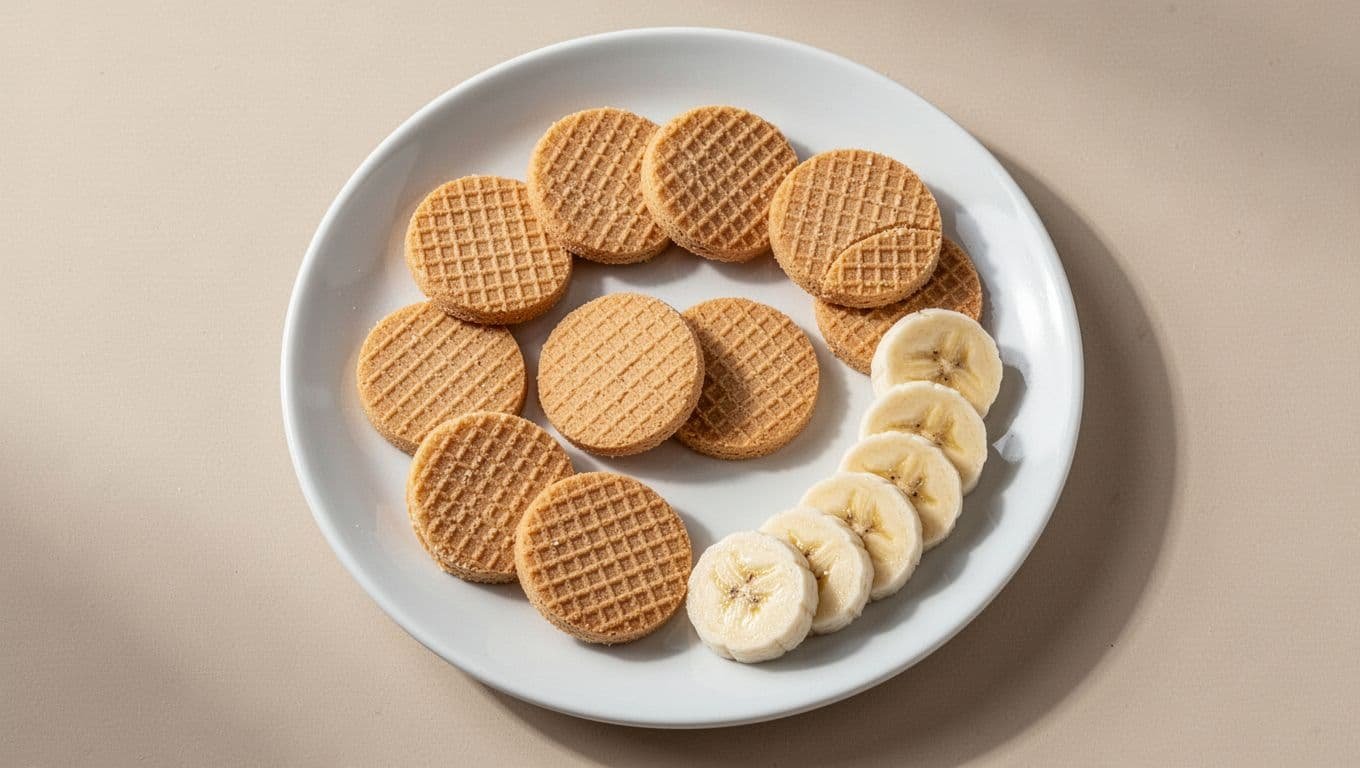
After a few hours in the fridge, the cookies lose their crunch and turn tender. That soft texture is exactly what you want. They should blend into the pudding, not vanish inside it.
Use dairy ingredients that create a thick, stable filling
The filling is where this recipe earns its name. Cream cheese adds body and a slight tang, which keeps the sweetness from tasting flat. Sweetened condensed milk brings rich sweetness and gives the mixture that dense, creamy feel.
For the pudding base, instant French vanilla pudding is the easy, classic route, and it’s also the style most often tied to this dessert in current recipe sources like this ingredient breakdown. A homemade custard tastes great too, but it takes more time and changes the texture. A hybrid approach, using instant pudding for structure and homemade touches like real whipped cream and vanilla, gives you the best balance of ease and flavor.

Whipped topping makes the filling light and stable, which is why so many no-bake versions use it. Homemade whipped cream tastes fresher, though it can soften faster. If you swap it in, whip it to medium-stiff peaks so the pudding still holds its shape.
How to make Not Yo Mama’s Banana Pudding Recipe step by step
Once your ingredients are ready, this dessert comes together fast. The key is to work in the right order, use a 9×13-inch dish or a deep 8×12-inch dish, and give the pudding enough time to set. If you want the classic rich texture people expect from a Not Yo Mama’s Banana Pudding Recipe, focus on three things: a smooth filling, even layers, and a long chill.
Make the pudding filling until it is smooth and lump free
Start with the cream cheese first, because cold cream cheese causes tiny lumps that are hard to fix later. Let it sit at room temperature until soft, then beat it until completely smooth before adding anything else.
Next, mix in the sweetened condensed milk a little at a time. This keeps the base silky instead of tight and clumpy. After that, whisk the pudding mix with the cold liquid called for in your recipe until it thickens and looks glossy. If you want a reference point, Paula Deen’s original recipe follows this same rich, no-bake style.
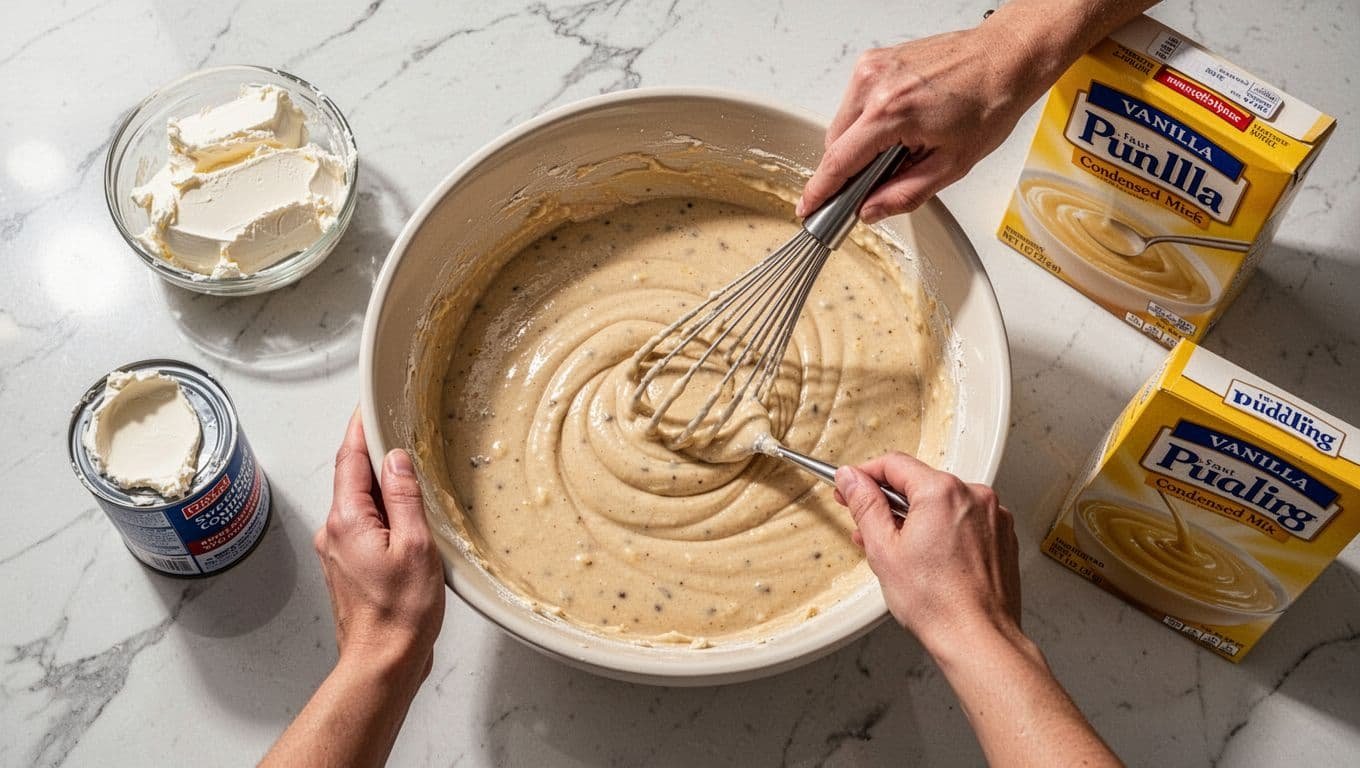
Then combine the pudding mixture with the cream cheese base and whisk until no streaks remain. The filling should look thick, smooth, and soft enough to spread, like a fluffy mousse. Finally, fold in the whipped topping or whipped cream with a spatula, not a whisk. Gentle folding keeps the mixture light, so it doesn’t turn dense.
If you still see lumps, press the filling against the side of the bowl with a spatula before you start layering.
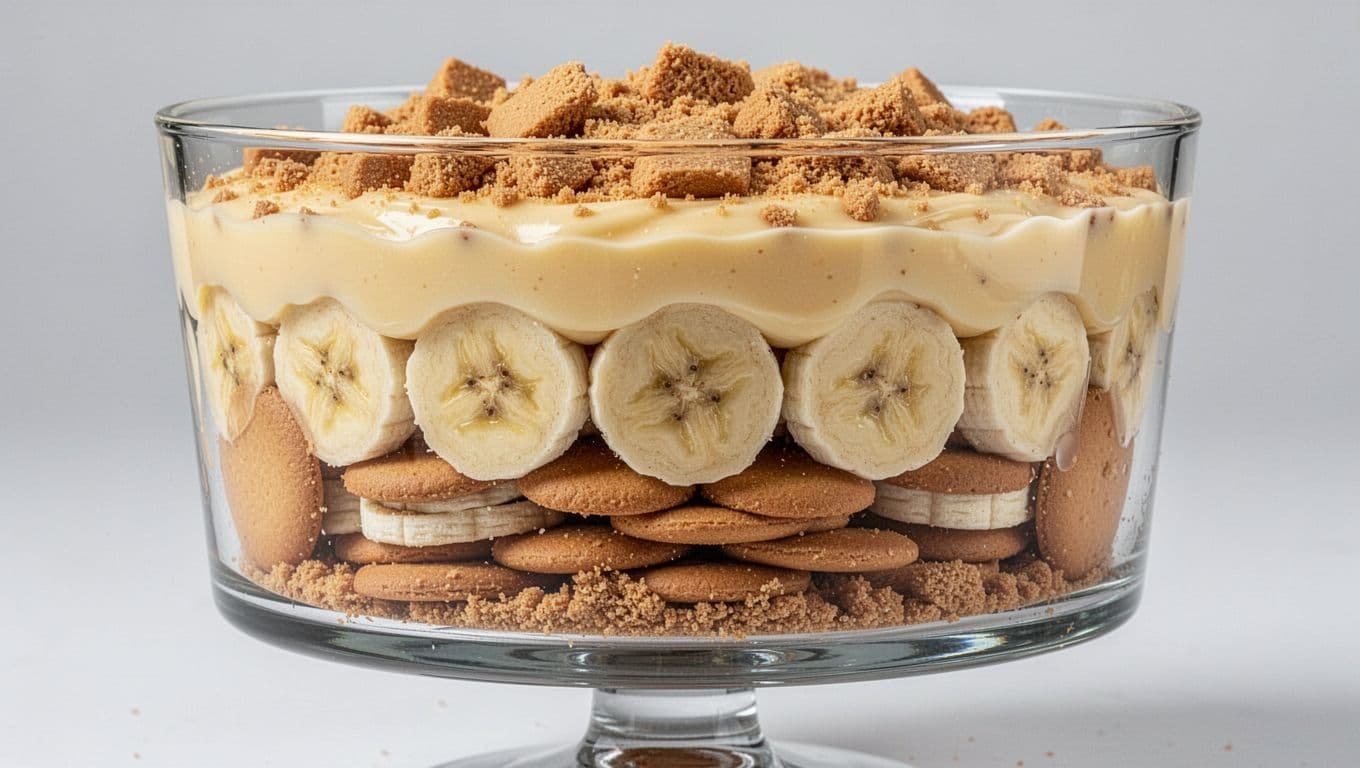
Layer the cookies, bananas, and filling for the best texture in every bite
A reliable layer order keeps every scoop balanced. Start with a thin swipe of filling on the bottom of the dish. That small base helps the first cookie layer stay in place and softens it evenly.
Now build the dessert in this order:
- Add a full layer of cookies.
- Arrange banana slices in a single, even layer.
- Spread a generous layer of filling over the bananas.
- Repeat until the dish is filled, then finish with pudding on top.
Each filling layer should be thick enough to cover everything well, usually about 1/2 to 3/4 inch. Spread it gently with an offset spatula or the back of a spoon. Start in the center and move outward so you don’t drag the bananas around or crush them.
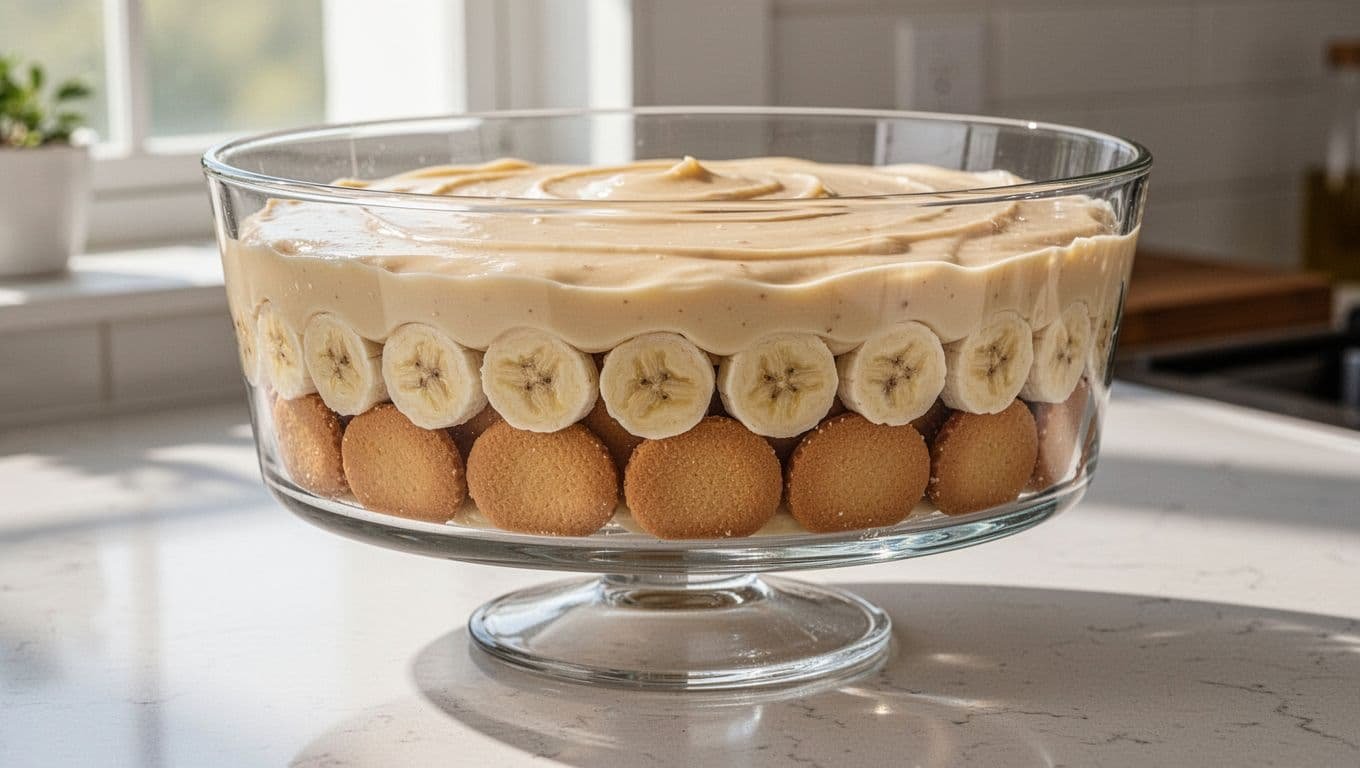
For the best top layer, smooth the filling flat and add a few cookie crumbs or neatly placed whole cookies right before serving. Many modern versions also use a cookie-heavy finish, and this step-by-step variation shows how that look comes together nicely.
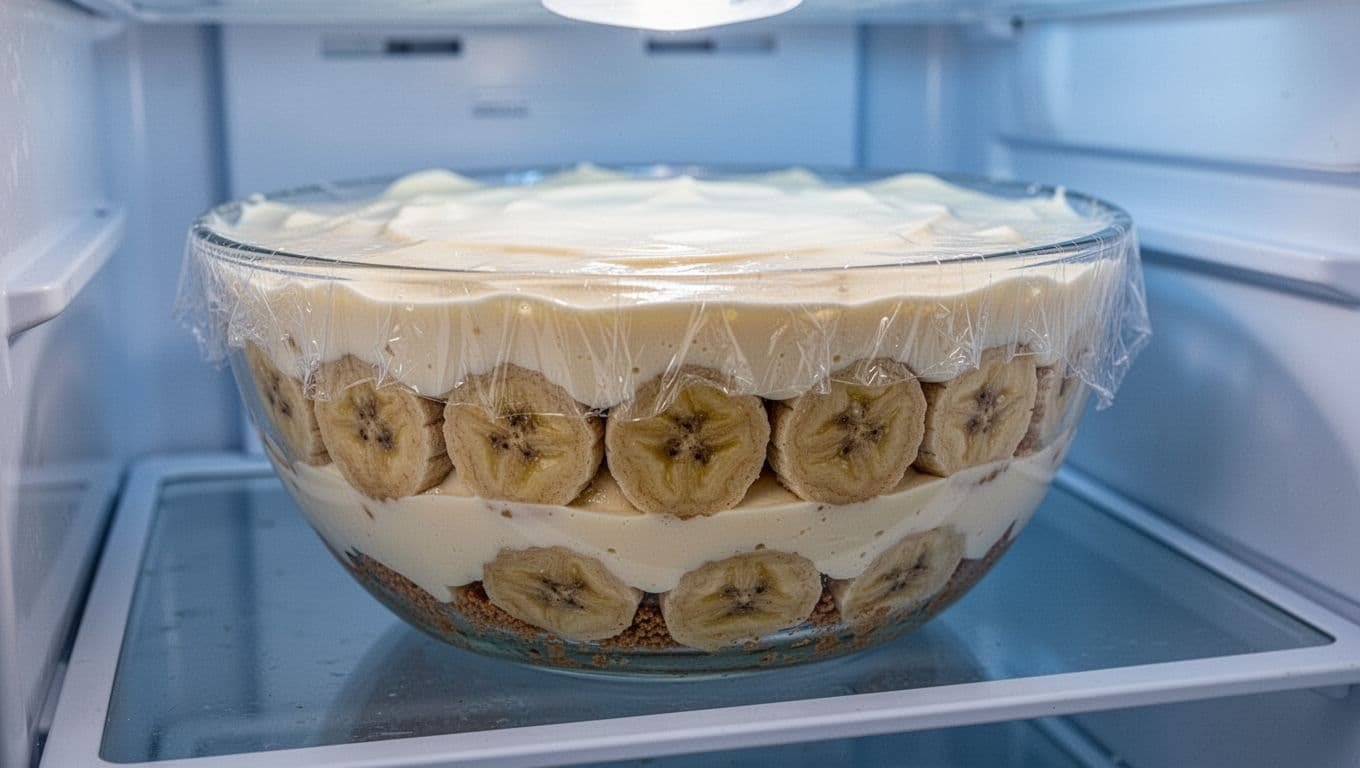
Chill long enough so the dessert sets and the flavors come together
Chilling is where the magic happens. Right after layering, the filling is soft and the cookies still have crunch. After a few hours in the fridge, the pudding firms up, the bananas settle into the layers, and the cookies start to soften into that cake-like texture people love.
For most dishes, at least 4 hours is the minimum. Overnight is even better if you want cleaner slices and fuller flavor. The extra time helps the layers meld, so the dessert tastes blended instead of separate.
If you serve it too soon, it can feel loose and a bit messy. By the next day, the filling is thicker, the cookies are tender, and every bite feels more unified. Just cover the dish well and keep it cold until serving, especially since banana pudding holds best when it’s fully chilled.
Easy tips to keep your banana pudding creamy, fresh, and never watery
A great Not Yo Mama’s Banana Pudding Recipe should stay rich, smooth, and spoonable from the first scoop to the last. A few small choices make a big difference here, especially if you’re making it for guests or prepping it the day before.
How to keep bananas from turning brown too fast
Bananas brown when air hits the cut surface, so timing matters. Slice them right before layering, then tuck them fully under the pudding so they’re sealed from air. That simple step does more than most people expect.
A tiny bit of lemon juice can help, too. Lightly brush or toss the slices with a few drops, not a heavy splash, because too much can change the flavor and make the dessert taste sharp.
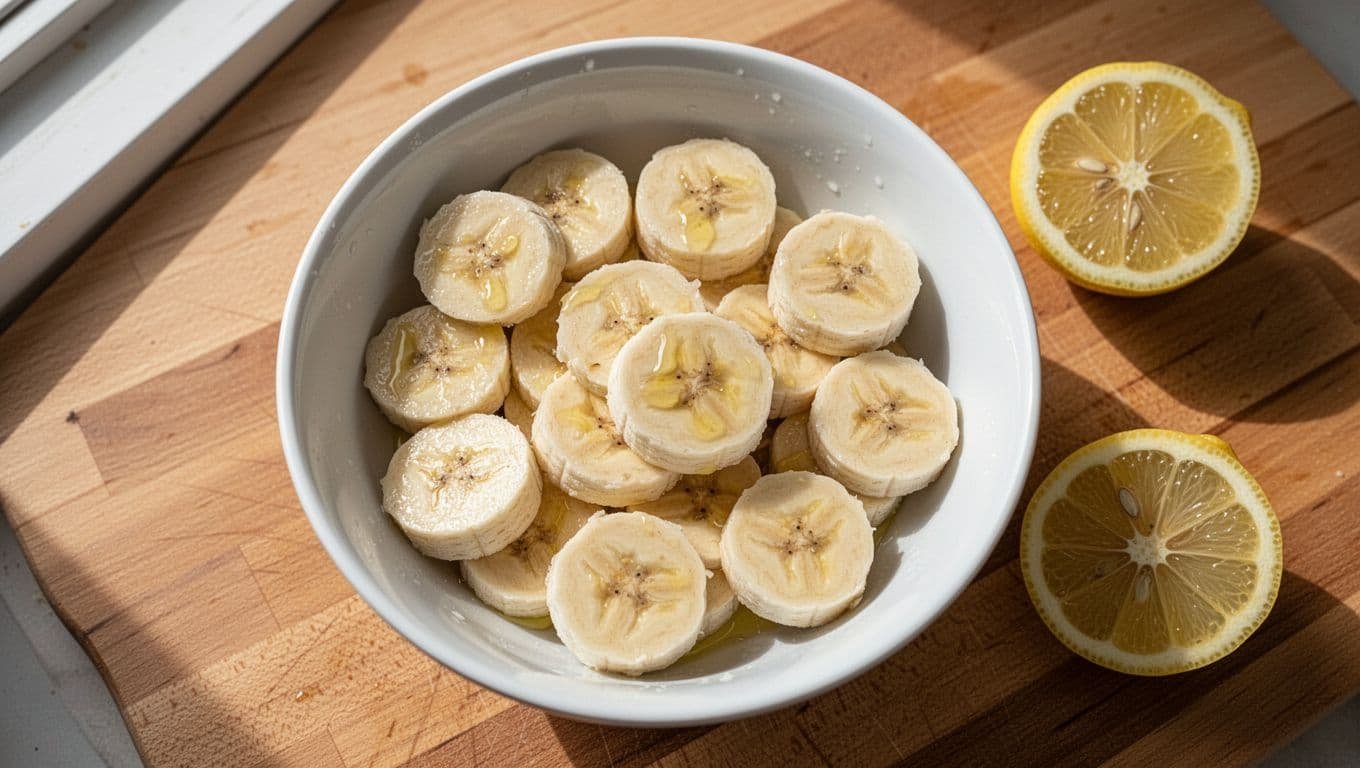
If you want the cleanest look, avoid putting banana slices on top until serving. Also, cover the dish well so extra air doesn’t sneak in. For another layering tip, this guide on keeping bananas from browning lines up with the same idea.
Why pudding gets runny and how to fix it
Runny pudding usually comes from a few common slip-ups: under-mixing, warm ingredients, too little chill time, or extra moisture from very ripe bananas. In other words, the filling needs structure before it ever hits the dish.
Start with softened cream cheese, but keep the other dairy cold. Mix until smooth and thick, then fold gently so you don’t flatten the filling. If it still looks loose, let it rest in the fridge before layering.
Bananas matter here, too. Use ripe but firm fruit, because soft bananas leak more liquid. If you need a quick save, add a little more pudding base and chill longer. These runny banana pudding fixes cover the same trouble spots.
If the pudding looks loose in the bowl, it will look looser in the dish.
The best way to make it ahead for parties and holidays
For the best texture, assemble banana pudding the night before or up to 24 hours ahead. That gives the cookies time to soften and the filling time to set, while the dessert still tastes fresh.
Finish with pudding on top, then cover it tightly and refrigerate. Add whipped topping, crushed cookies, or extra banana slices closer to serving so the top stays pretty and the crunch lasts.
If you’re bringing dessert to a party, keep it cold until you leave, then transport it in a cooler bag if you can. It usually tastes best within 24 hours, though it can still hold up well the next day when it’s covered tightly.
Fun variations if you want to make this recipe your own
One of the best things about a rich Not Yo Mama’s Banana Pudding Recipe is how easy it is to tweak without losing its comfort-food charm. If you want a version that feels a little fancier, more party-ready, or just a bit lighter, a few smart swaps can change the mood without changing the heart of the dessert.
Make it extra rich with homemade custard or mascarpone
If you want a more homemade, dressed-up finish, swap part of the filling for homemade vanilla custard or fold in a little mascarpone. Custard gives the pudding a deeper vanilla flavor and a silkier, old-school texture. Mascarpone makes it thicker and smoother, with a soft richness that feels almost dessert-shop level.
Use this as a simple upgrade, not a full recipe rewrite. Even a partial swap can make the layers taste more special and a little less like a quick weeknight dessert. If you love the style of bakery banana pudding, this is the kind of touch that gets you there.
Try a crowd-pleasing twist like caramel, peanut butter, or pudding cups
Some add-ins feel natural with banana pudding, and they work because they don’t fight the base flavor. A light caramel or salted caramel drizzle between layers adds warmth and makes the bananas taste sweeter. For extra depth, caramelized banana pudding ideas from NYT Cooking show why that flavor combo works so well.
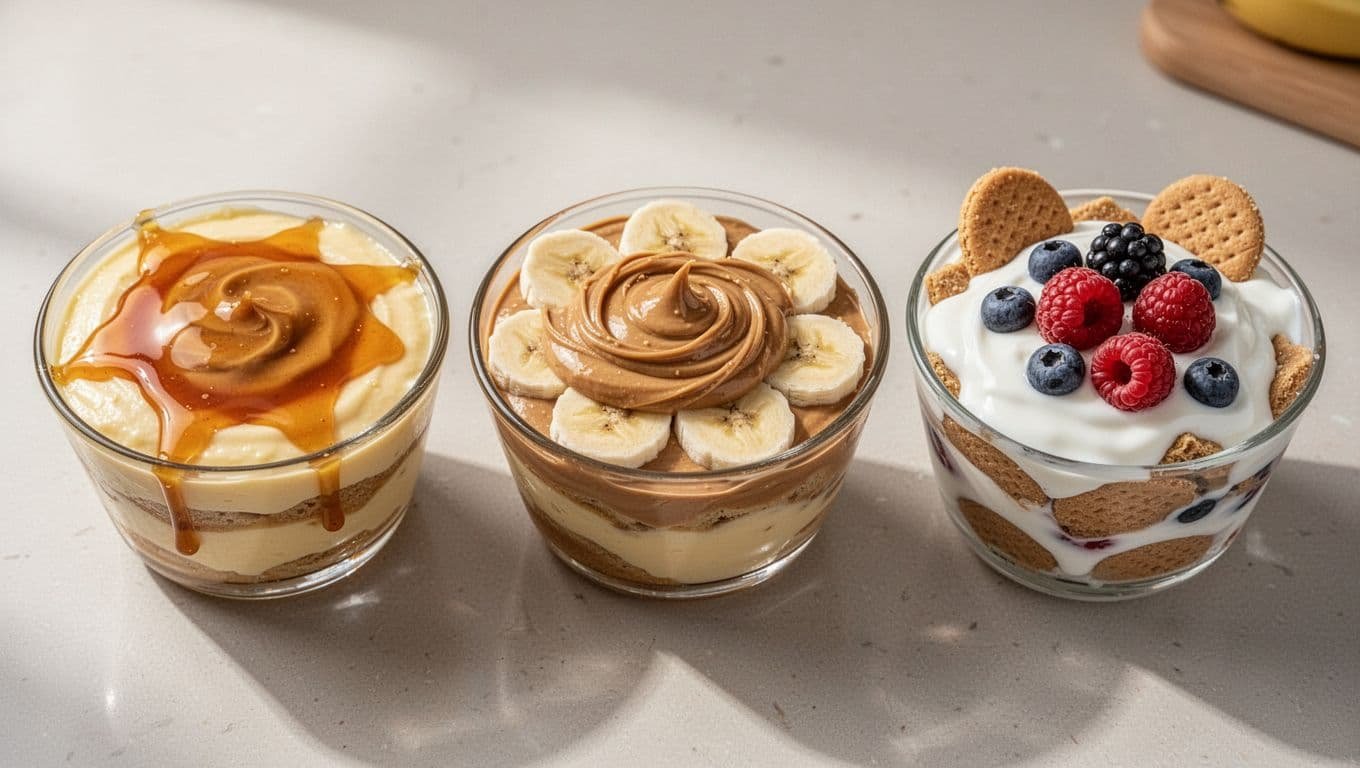
A peanut butter swirl is another easy win. Stir a few spoonfuls into the filling or spread a thin layer over the cookies. If you want a lighter take on that combo, Paula Deen Magazine’s peanut butter banana pudding is a helpful reference. For parties, individual pudding cups make serving easy and keep the layers looking neat.
Lighten it up without losing the banana pudding flavor
You can trim some richness and still keep that classic taste. Try using part Greek yogurt in place of some cream cheese, a lighter whipped topping, or reduced-sugar pudding mix. The texture won’t be quite as lush, but it can still be creamy, cold, and very satisfying.
The best move is to lighten only one or two parts, not everything at once. That way, the bananas, vanilla wafers, and pudding flavor still come through. Since lighter desserts are still trending in 2026, this kind of version makes sense when you want something a bit easier to serve often.
Conclusion
This Not Yo Mama’s Banana Pudding Recipe earns its name because every layer feels a little richer and more satisfying than the usual version. The creamy filling, balanced sweetness, soft cookies, and fresh bananas come together into a dessert that tastes comforting but still special.
It also stays easy to make, which is a big part of its appeal. Even if you’re new to banana pudding, the steps are simple, the ingredients are familiar, and the chill time does a lot of the work for you. That makes it just as fitting for a first try as it is for holidays, cookouts, and Sunday dinners.
If you want a dessert that looks impressive without making the process hard, this one is worth making. Give it enough time to chill, serve it cold, and enjoy the kind of banana pudding people remember after the last spoonful.
Save the pin for later


- 5 Clear Signs a Woman Has Just Slept With Another Man - 31/07/2026
- 25 Budget-Friendly Boy Halloween Costumes to Make at Home - 29/07/2026
- 5 Signs a Woman Is Staying Only for the Children - 27/07/2026
